By Kimberly Kwan, conservation fellow
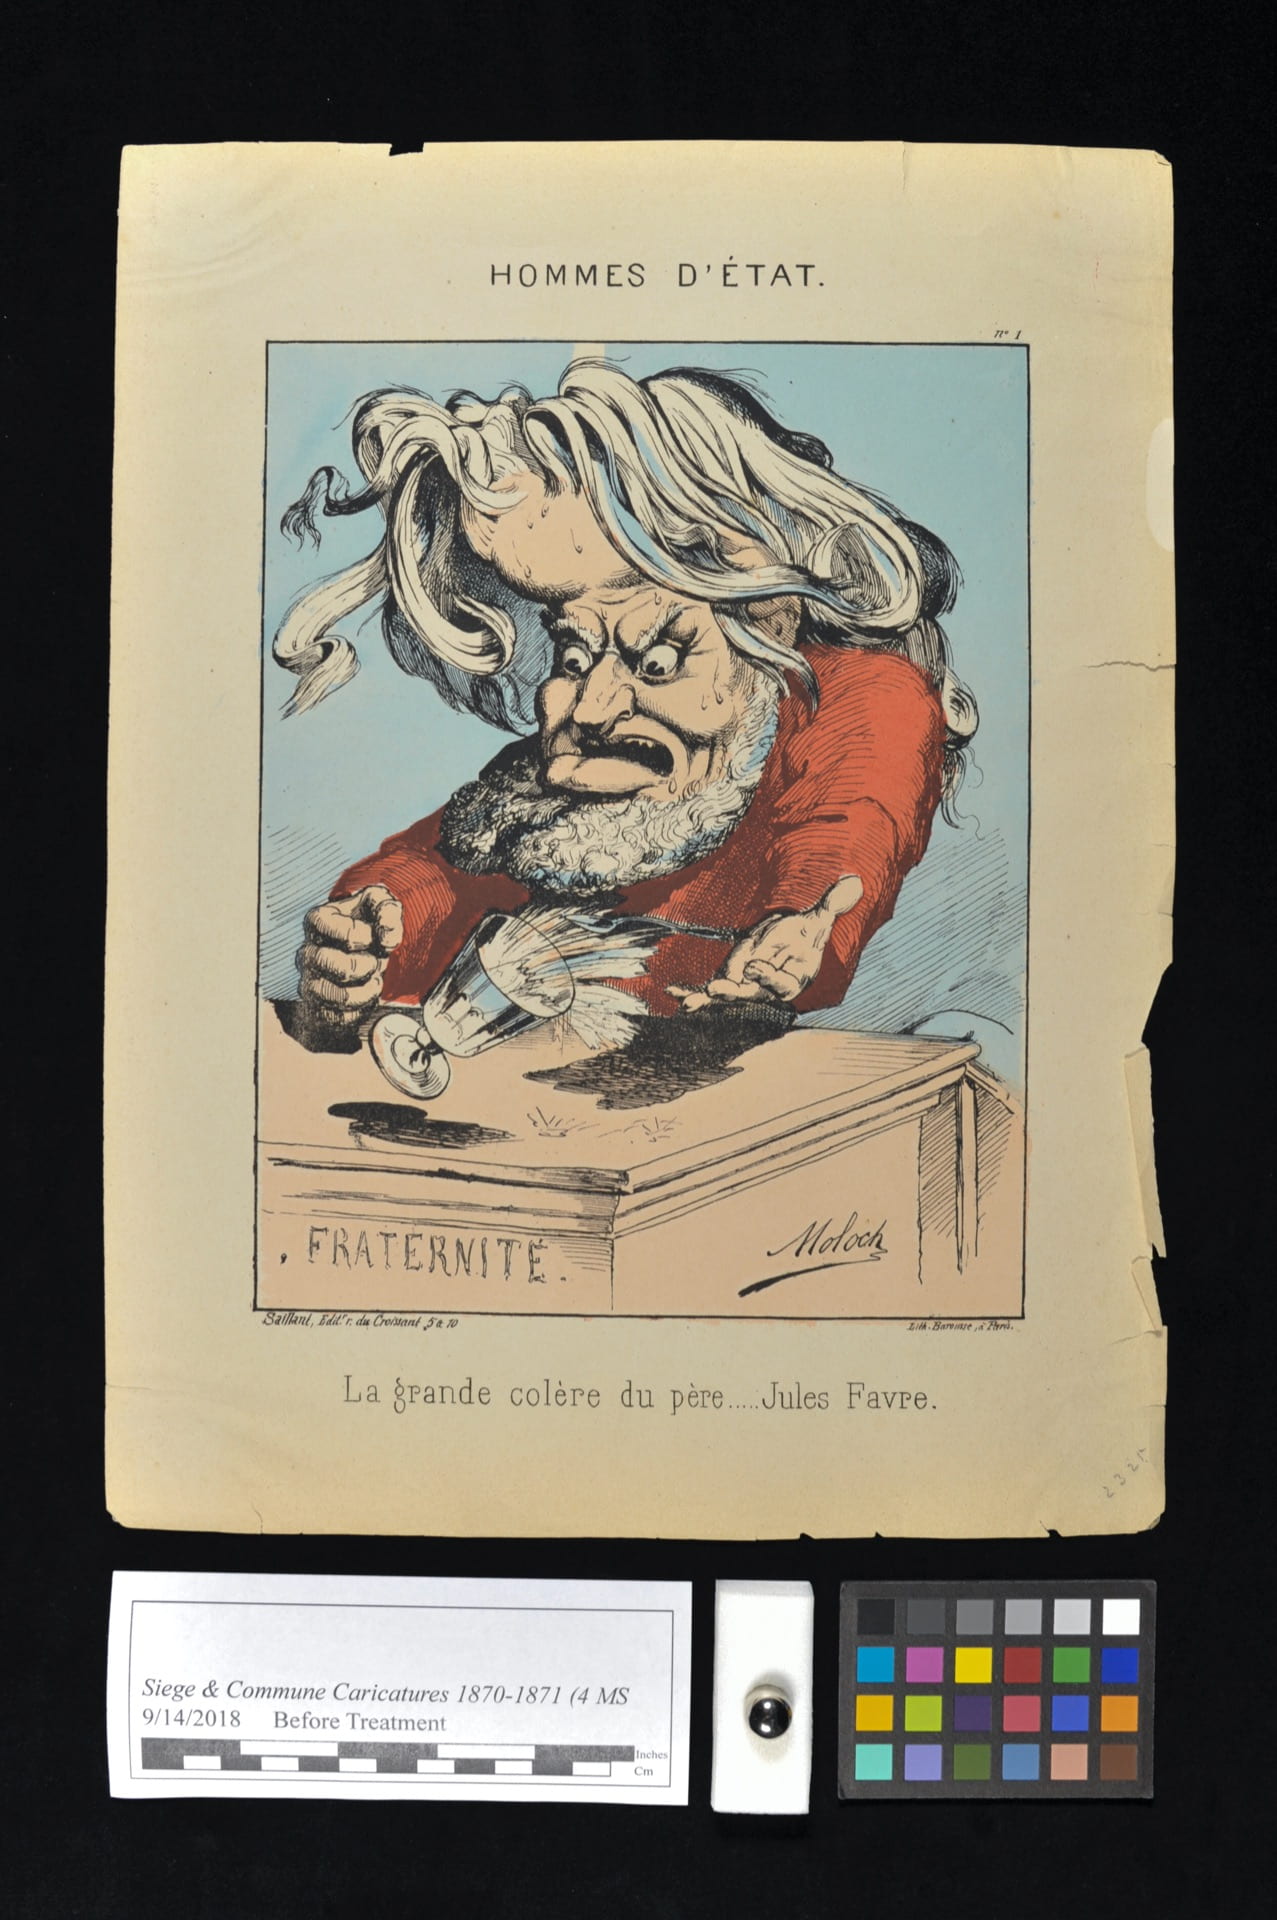
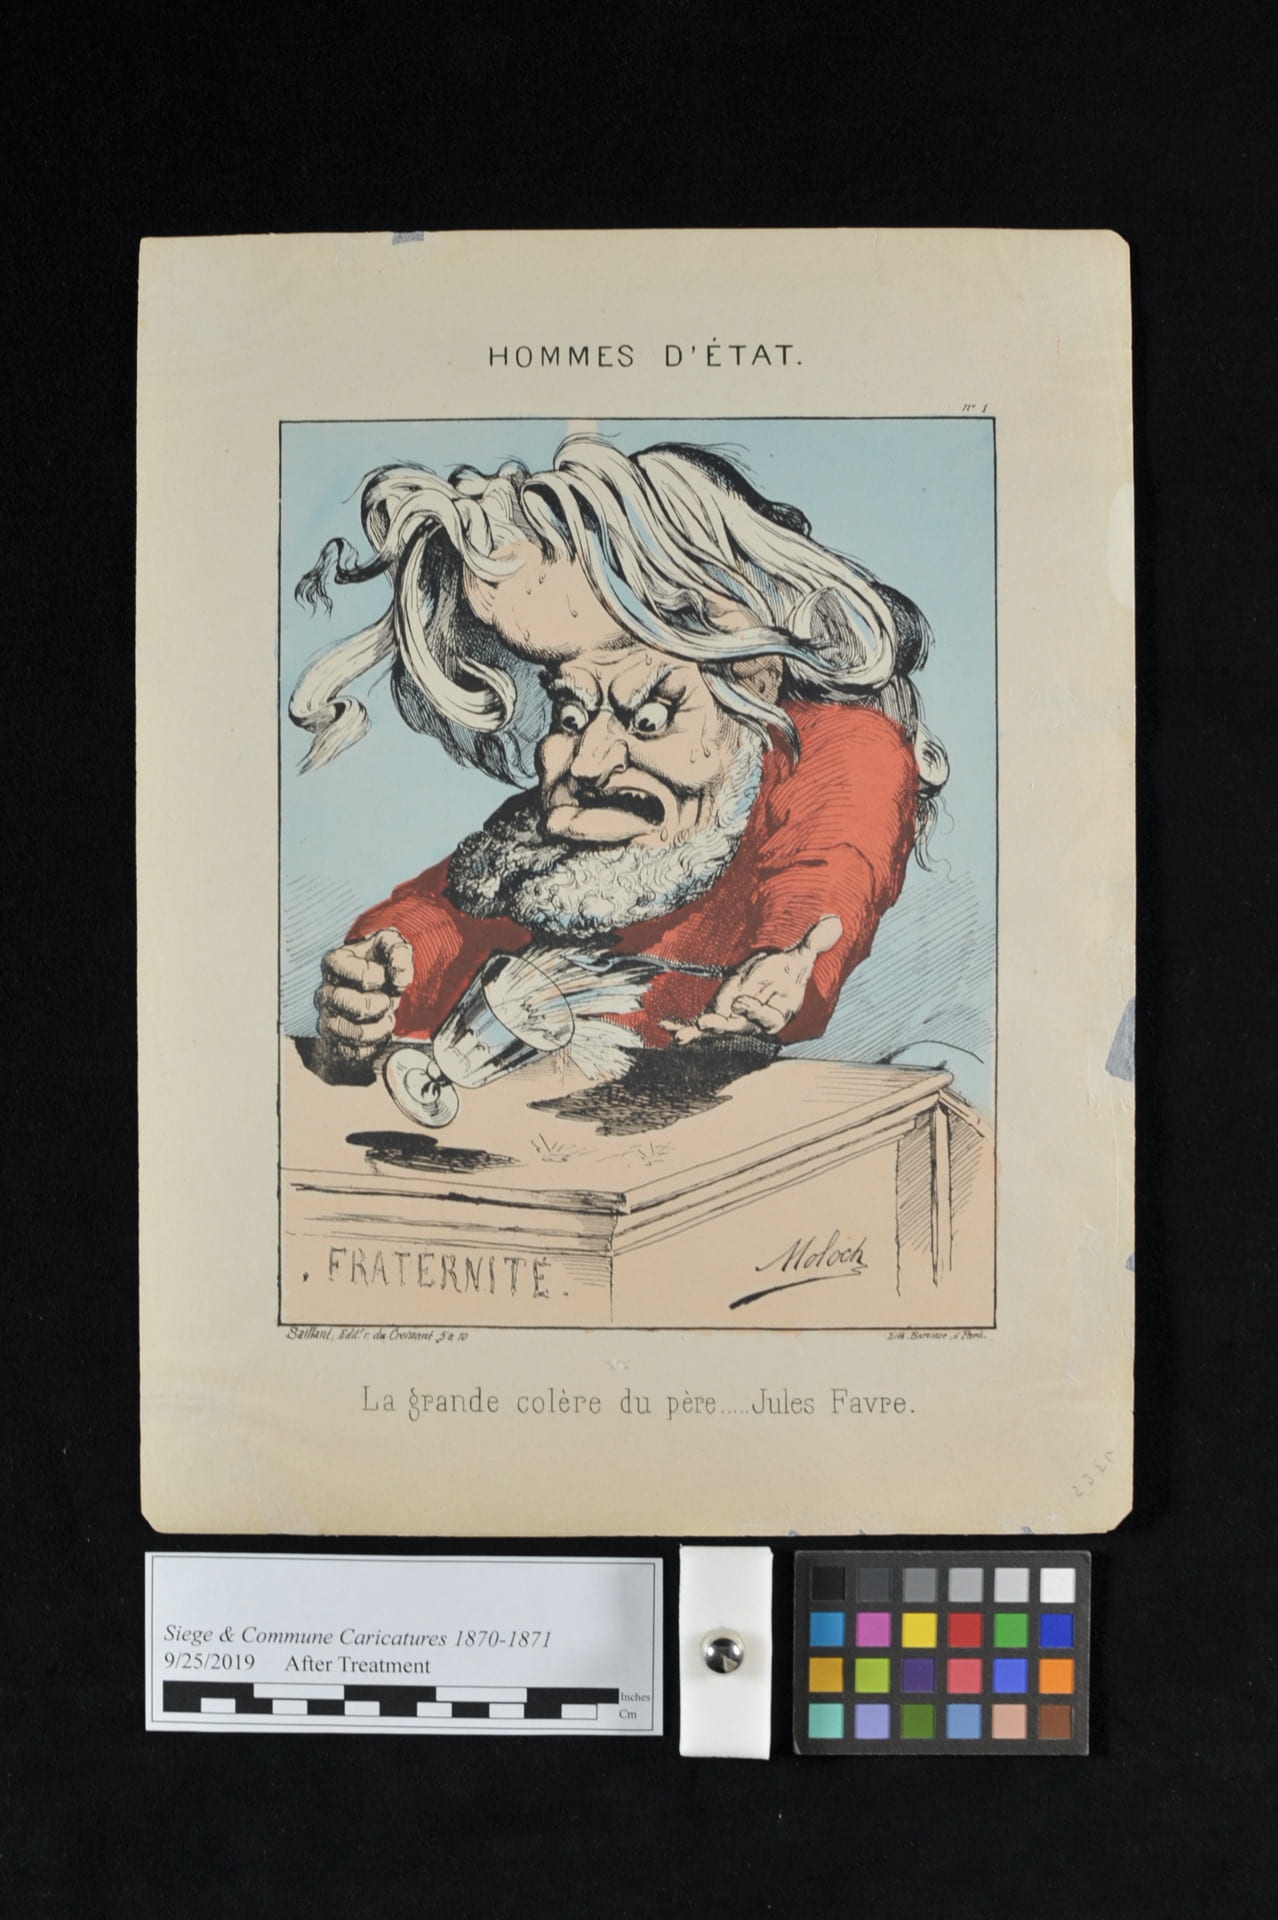
Before the campus shutdown in the face of COVID-19, the Preservation department in University Library was nearing the end of a two-year project treating the Siege and Commune of Paris Collection, a 150-year-old archive of photographs, newspapers, books, pamphlets, posters and (considering the conditions of the siege) a surprising number of caricatures — more than 2,000 lithographs, many of them hand-colored.
During this project, conservators focused on the treatment and housing of more than 700 of those caricatures in preparation for their future cataloging and digitization.
Held by the Charles Deering McCormick Library of Special Collections and University Archives, the collection captures the 19th century period when the unification of the German Empire under Prussia had upset the balance of power. After a declaration of war from France in July 1870, Paris was under siege for four months during the Franco-Prussian War, during which German troops erected a blockade to starve the city into surrender. Growing tensions with the French government and desires for a democratic republic in Paris, stirred on by the events of the Siege, led to a revolt on March 18, 1871, resulting in the formation of the Paris Commune. The Commune refused the authority of the French government, entering into a civil war until they were finally suppressed by the regular French Army on May 28, 1871.
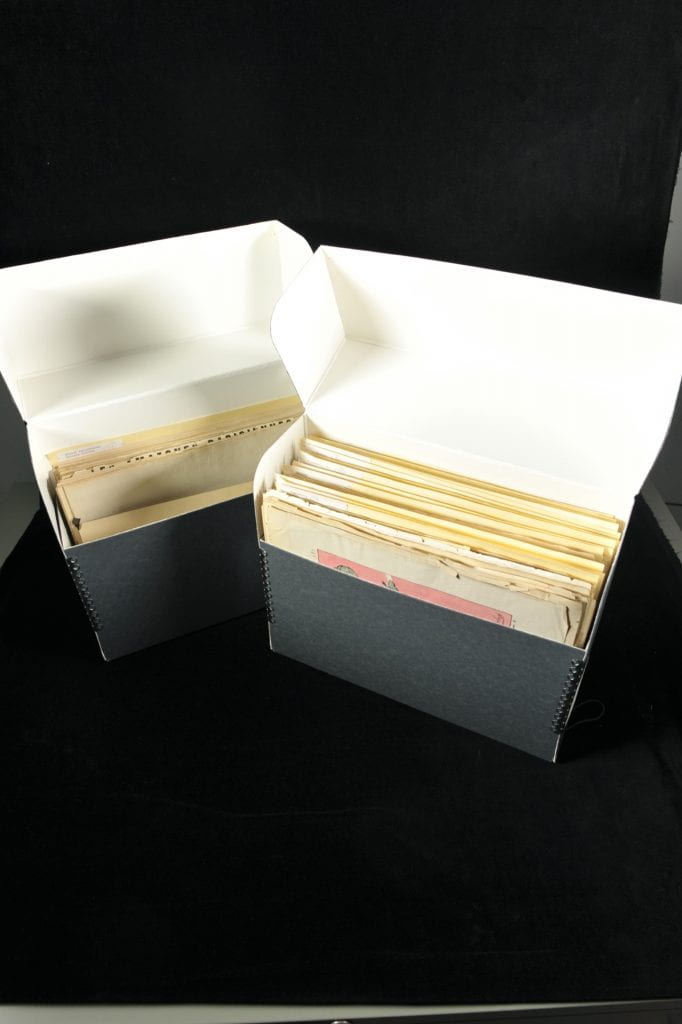
Because many of the prints were brittle and so compactly housed together, it was especially easy for them to catch onto one another and become damaged when being taken out of or being placed back into the document boxes.
These caricatures had been stored in four large, heavy document boxes. To increase their ease of access and safe handling, all the prints were rehoused individually in acid-free folders and put into print boxes ordered by the artists’ names. The prints are now comfortably stored in 36 print boxes. Oversized prints were housed together in a larger folder that allowed them to be stored flat.
Before treatment, the prints were in various conditions. Main treatment techniques throughout the project included surface cleaning, flattening of creases or folds, paper repairs, and backing/adhesive removal. A few prints in particularly fragile condition also needed to be washed and lined.
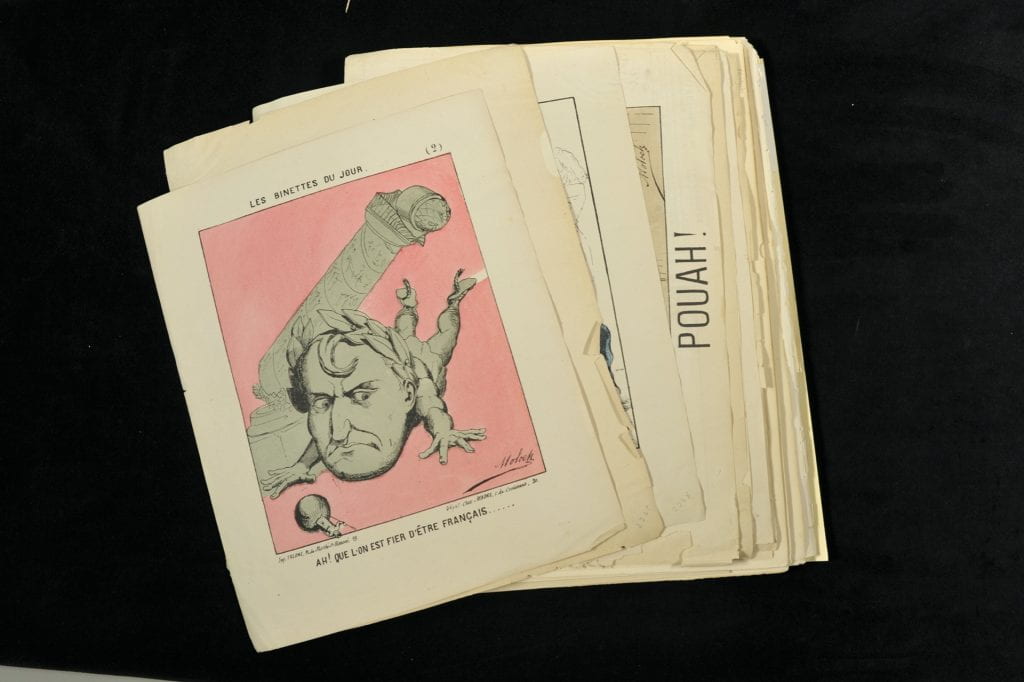
Some prints only had minor surface dirt, others had tears and losses, or were at risk of further damage due to backing papers.
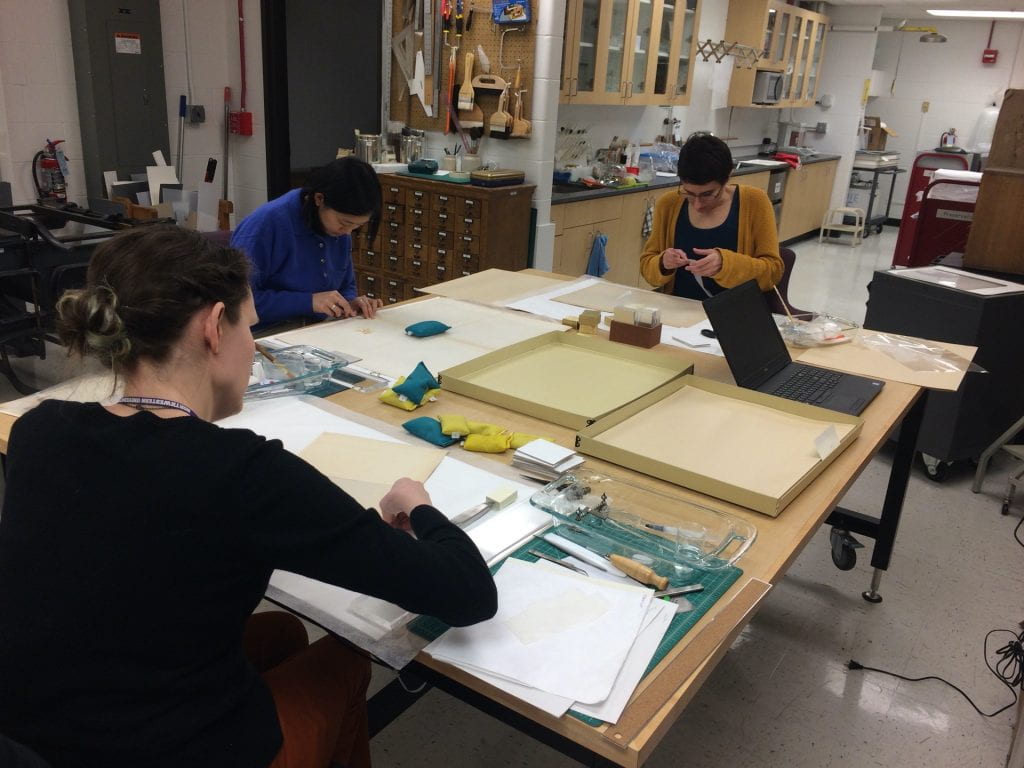
Due to the size of the project, we worked in a group of four, with a decision to focus on stabilizing the prints for safe handling rather than placing aesthetics as a priority. For instance, repair papers were not toned to individually match the paper color of each print, and ragged edges of prints or very small tears that did not cause significant handling concerns were not repaired. While very small tears may individually be very quick to mend, with a total of 724 prints, mending just one small tear on every print can add up to a lot of time.
Even for the most common conservation techniques, there can be many variations in preferred materials and methods, depending on where a conservator has trained and worked. This group project allowed us to compare and try out different variations of a technique. For instance, with paper mending, we discovered each conservator applied adhesive to the mending tissue in different ways. One method is to apply adhesive on top of a piece of mending tissue over a slab of plexiglass. Another is to apply the adhesive onto the plexiglass, after which the mending tissue is placed on top to absorb the adhesive. Yet another variation is to use polyester film or blotter instead of plexiglass. Each method controls the amount of moisture introduced into the mending tissue and object slightly differently.
The project was a great opportunity for us to become more familiar with complex treatment techniques or try them out for the first time in a group setting. We spent most of the time working on prints that required some form of backing removal, where we detached a print from the paper to which it had been mounted.
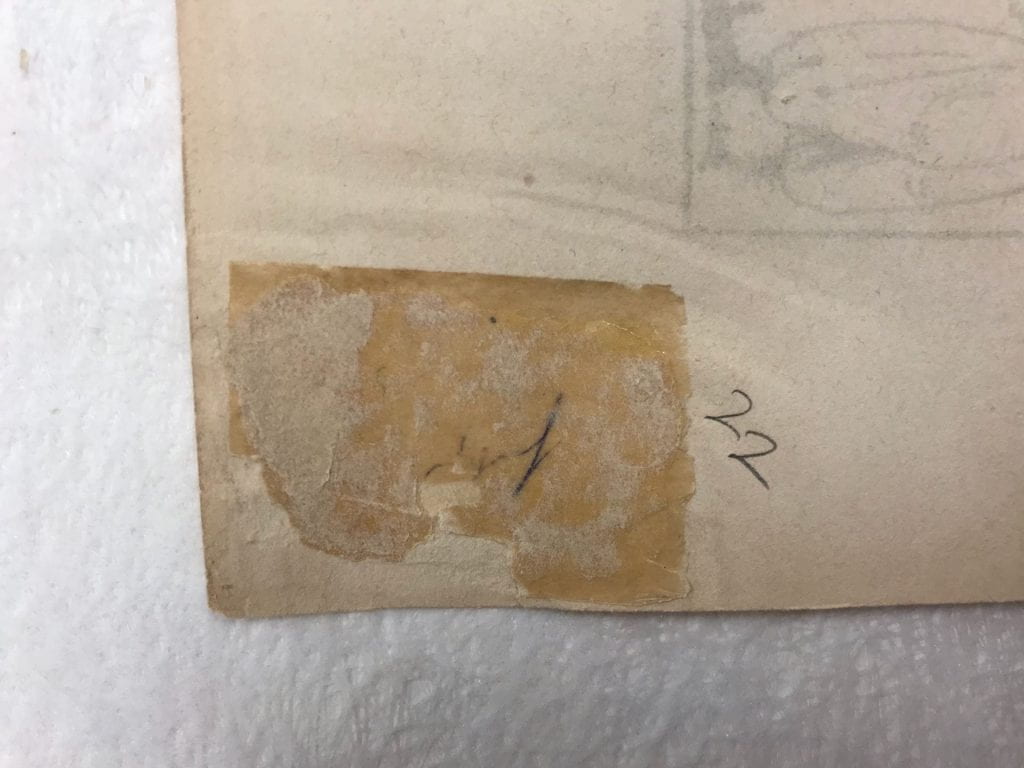
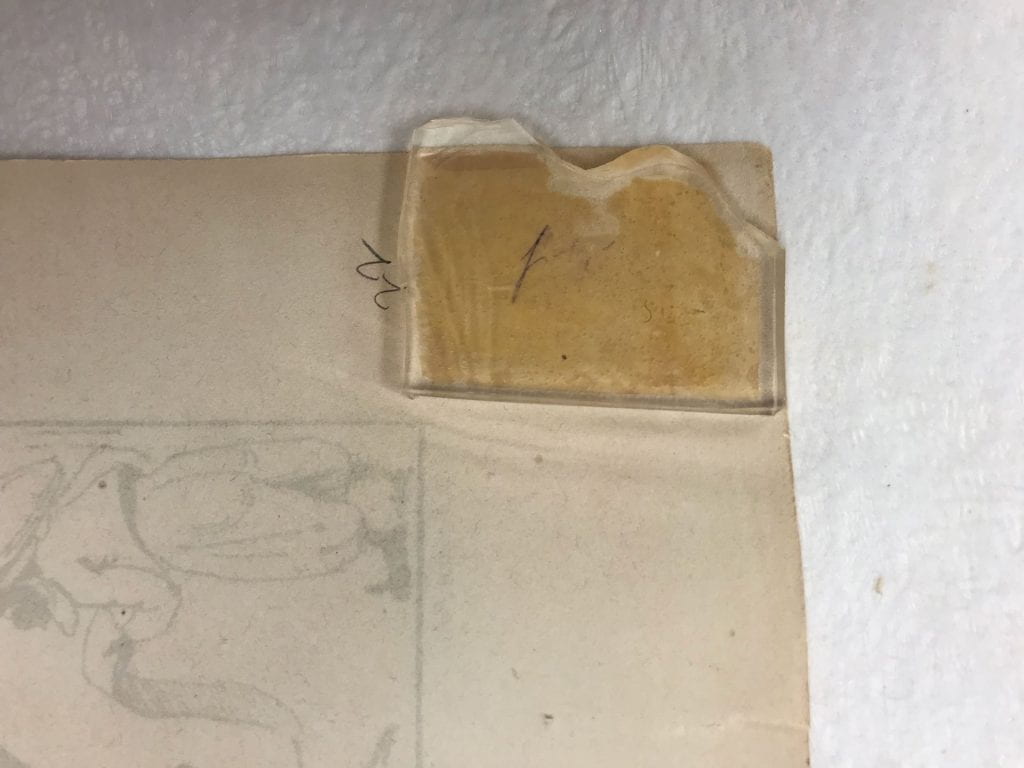
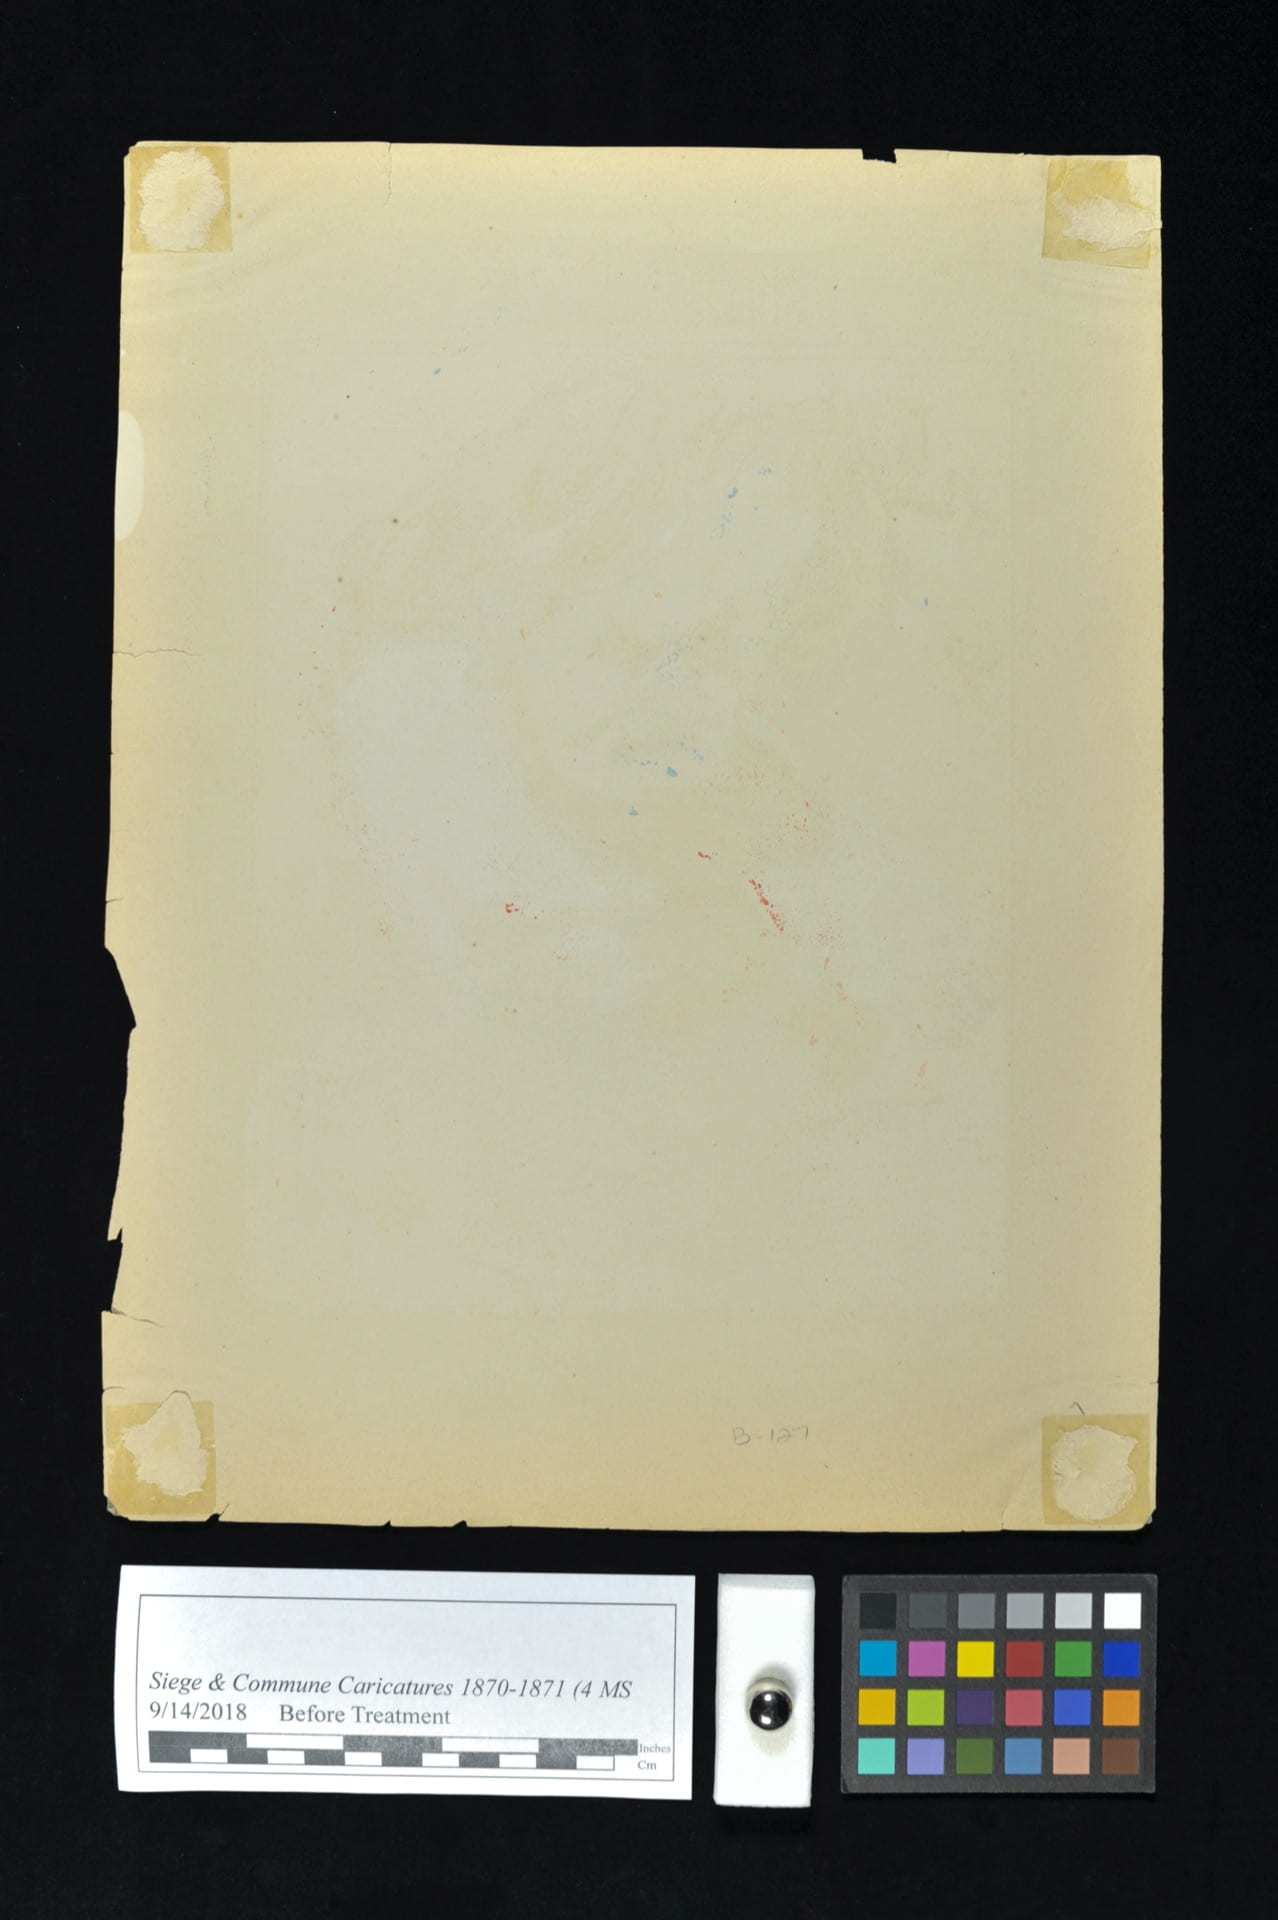
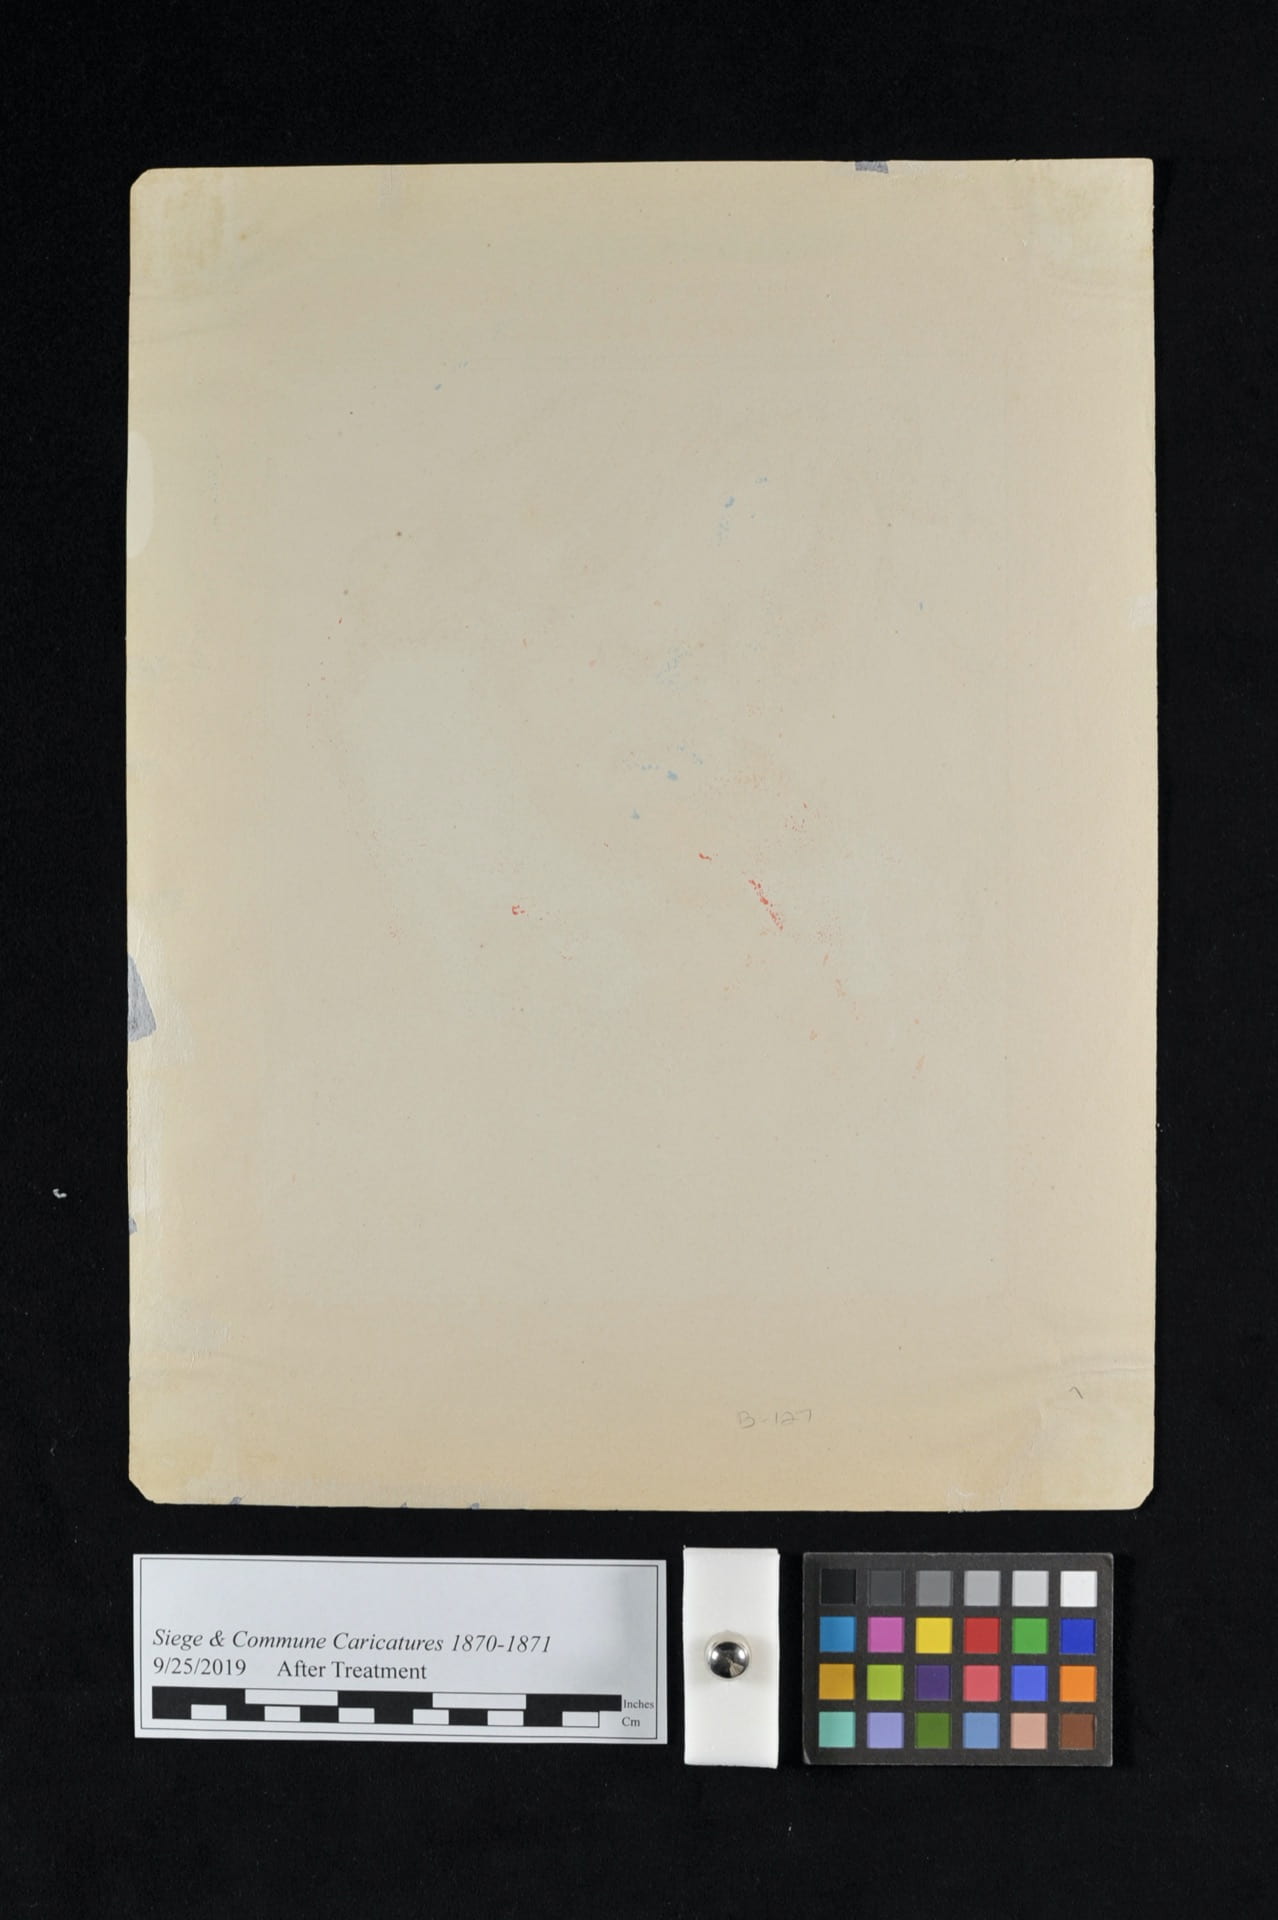
Some prints had been previously adhered using water-soluble double-sided tape to backing paper, which had at some point been ripped off. In some cases, this caused additional damage where the print paper was torn or ripped off as it was removed. Other prints were still attached to their backing paper with a starch-based adhesive. While we could leave many of these attached because the backing paper was in good condition, some of the prints needed backing removal because of damage to the backing paper or to the print at the site of adhesion.

Even where the prints with tape had not been damaged, the weight and stiffness of the remaining tape and backing paper remnants risked further damage to the brittle print paper.
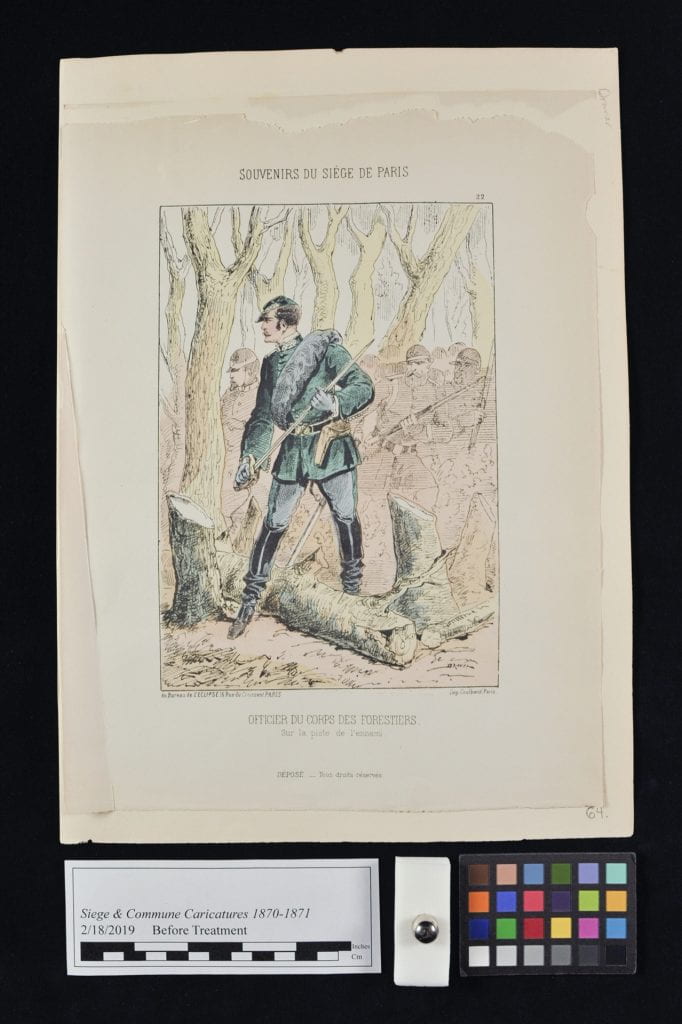
Backing removal was necessary as this print was tearing where it had been adhered to the backing paper.
To remove the tape or backing paper from the prints, we thinned down the backing paper with a surgical scalpel to gain better access to the adhesive layer. Using a sharp blade to delaminate the backing paper takes a slow, steady hand to do well, as it is very easy to slice straight through to the print paper.
Above: A layer of backing paper on top of the double-sided tape is being thinned down for these prints.
The prints that had been adhered to backing paper with tape were good practice for backing removal as the plastic tape layer provided a barrier between the scalpel blade and the print. Working with tape removal allowed us to become more confident when we progressed onto the prints directly attached to backing paper with adhesive. Backing removal for these prints required an even more practiced hand as there was no protective tape layer between the two pieces of paper.
Fortunately, both adhesive methods used to attach the prints to their backing paper could be scraped away easily after being softened with water. After the backing paper layer had been removed, the tape or adhesive layer was softened using gellan gum, a rigid gel which allows for slow introduction of moisture into the paper. Controlling the amount of water introduced into paper during wet treatment is important as too much water can cause further damage like cockling or tidelines to the paper.
The large number of prints requiring similar treatments meant that we could practice a seldom-used technique repeatedly and become very good at it. At the start of the project, tape removal for a print like this took an hour to do. By the end of this project, we were completing similar tape removal treatments in about 20-25 minutes, which was very rewarding to see.
Above: Before tape removal; below: After tape removal
As a group project, working on the Siege and Commune of Paris caricatures has been a great learning experience. Some prints reacted in surprising ways that required on-the-spot treatment adjustments. This taught us to think on our feet and change plans mid-treatment, as well as to become more confident when encountering similar treatment complications with other prints.

Conservation technicians Nicole Dobrowolski and Sara Dohrman washing the last two prints for our project.
We were working on our last two prints when campus closed due to Covid-19—two of our final prints are currently resting in a press after washing and lining treatments. Despite this unexpected delay in the project, we have been able to complete all but the two treatments half a year ahead of the two-year treatment schedule. In total, we treated 724 prints in 289 hours for the Siege and Commune of Paris Caricatures project.

