
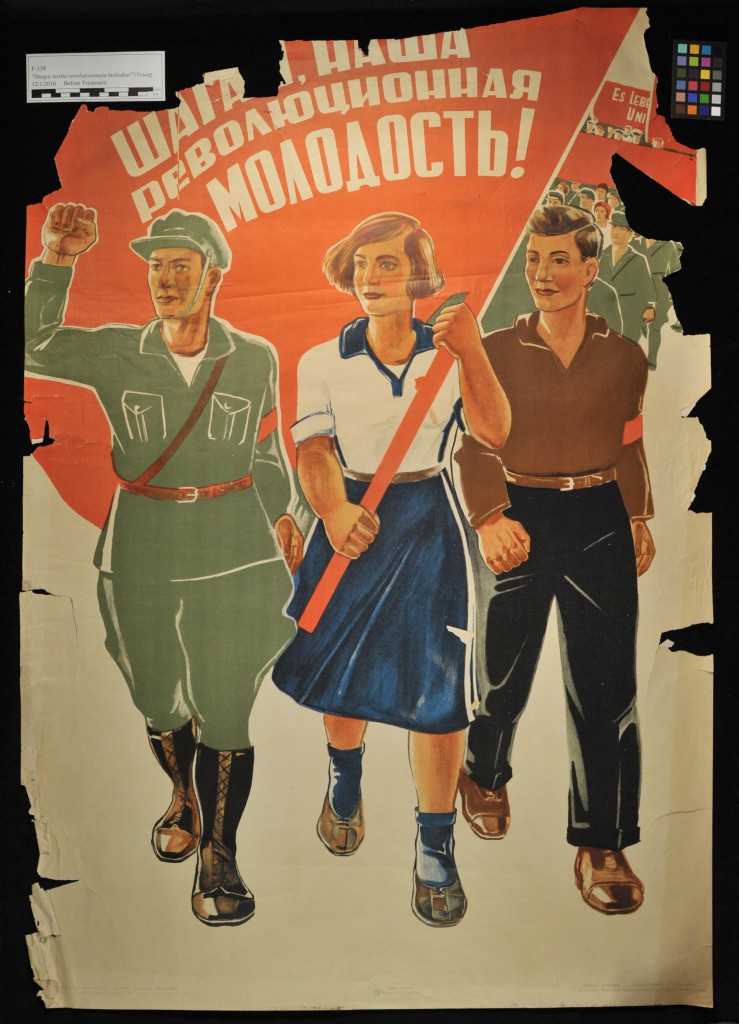
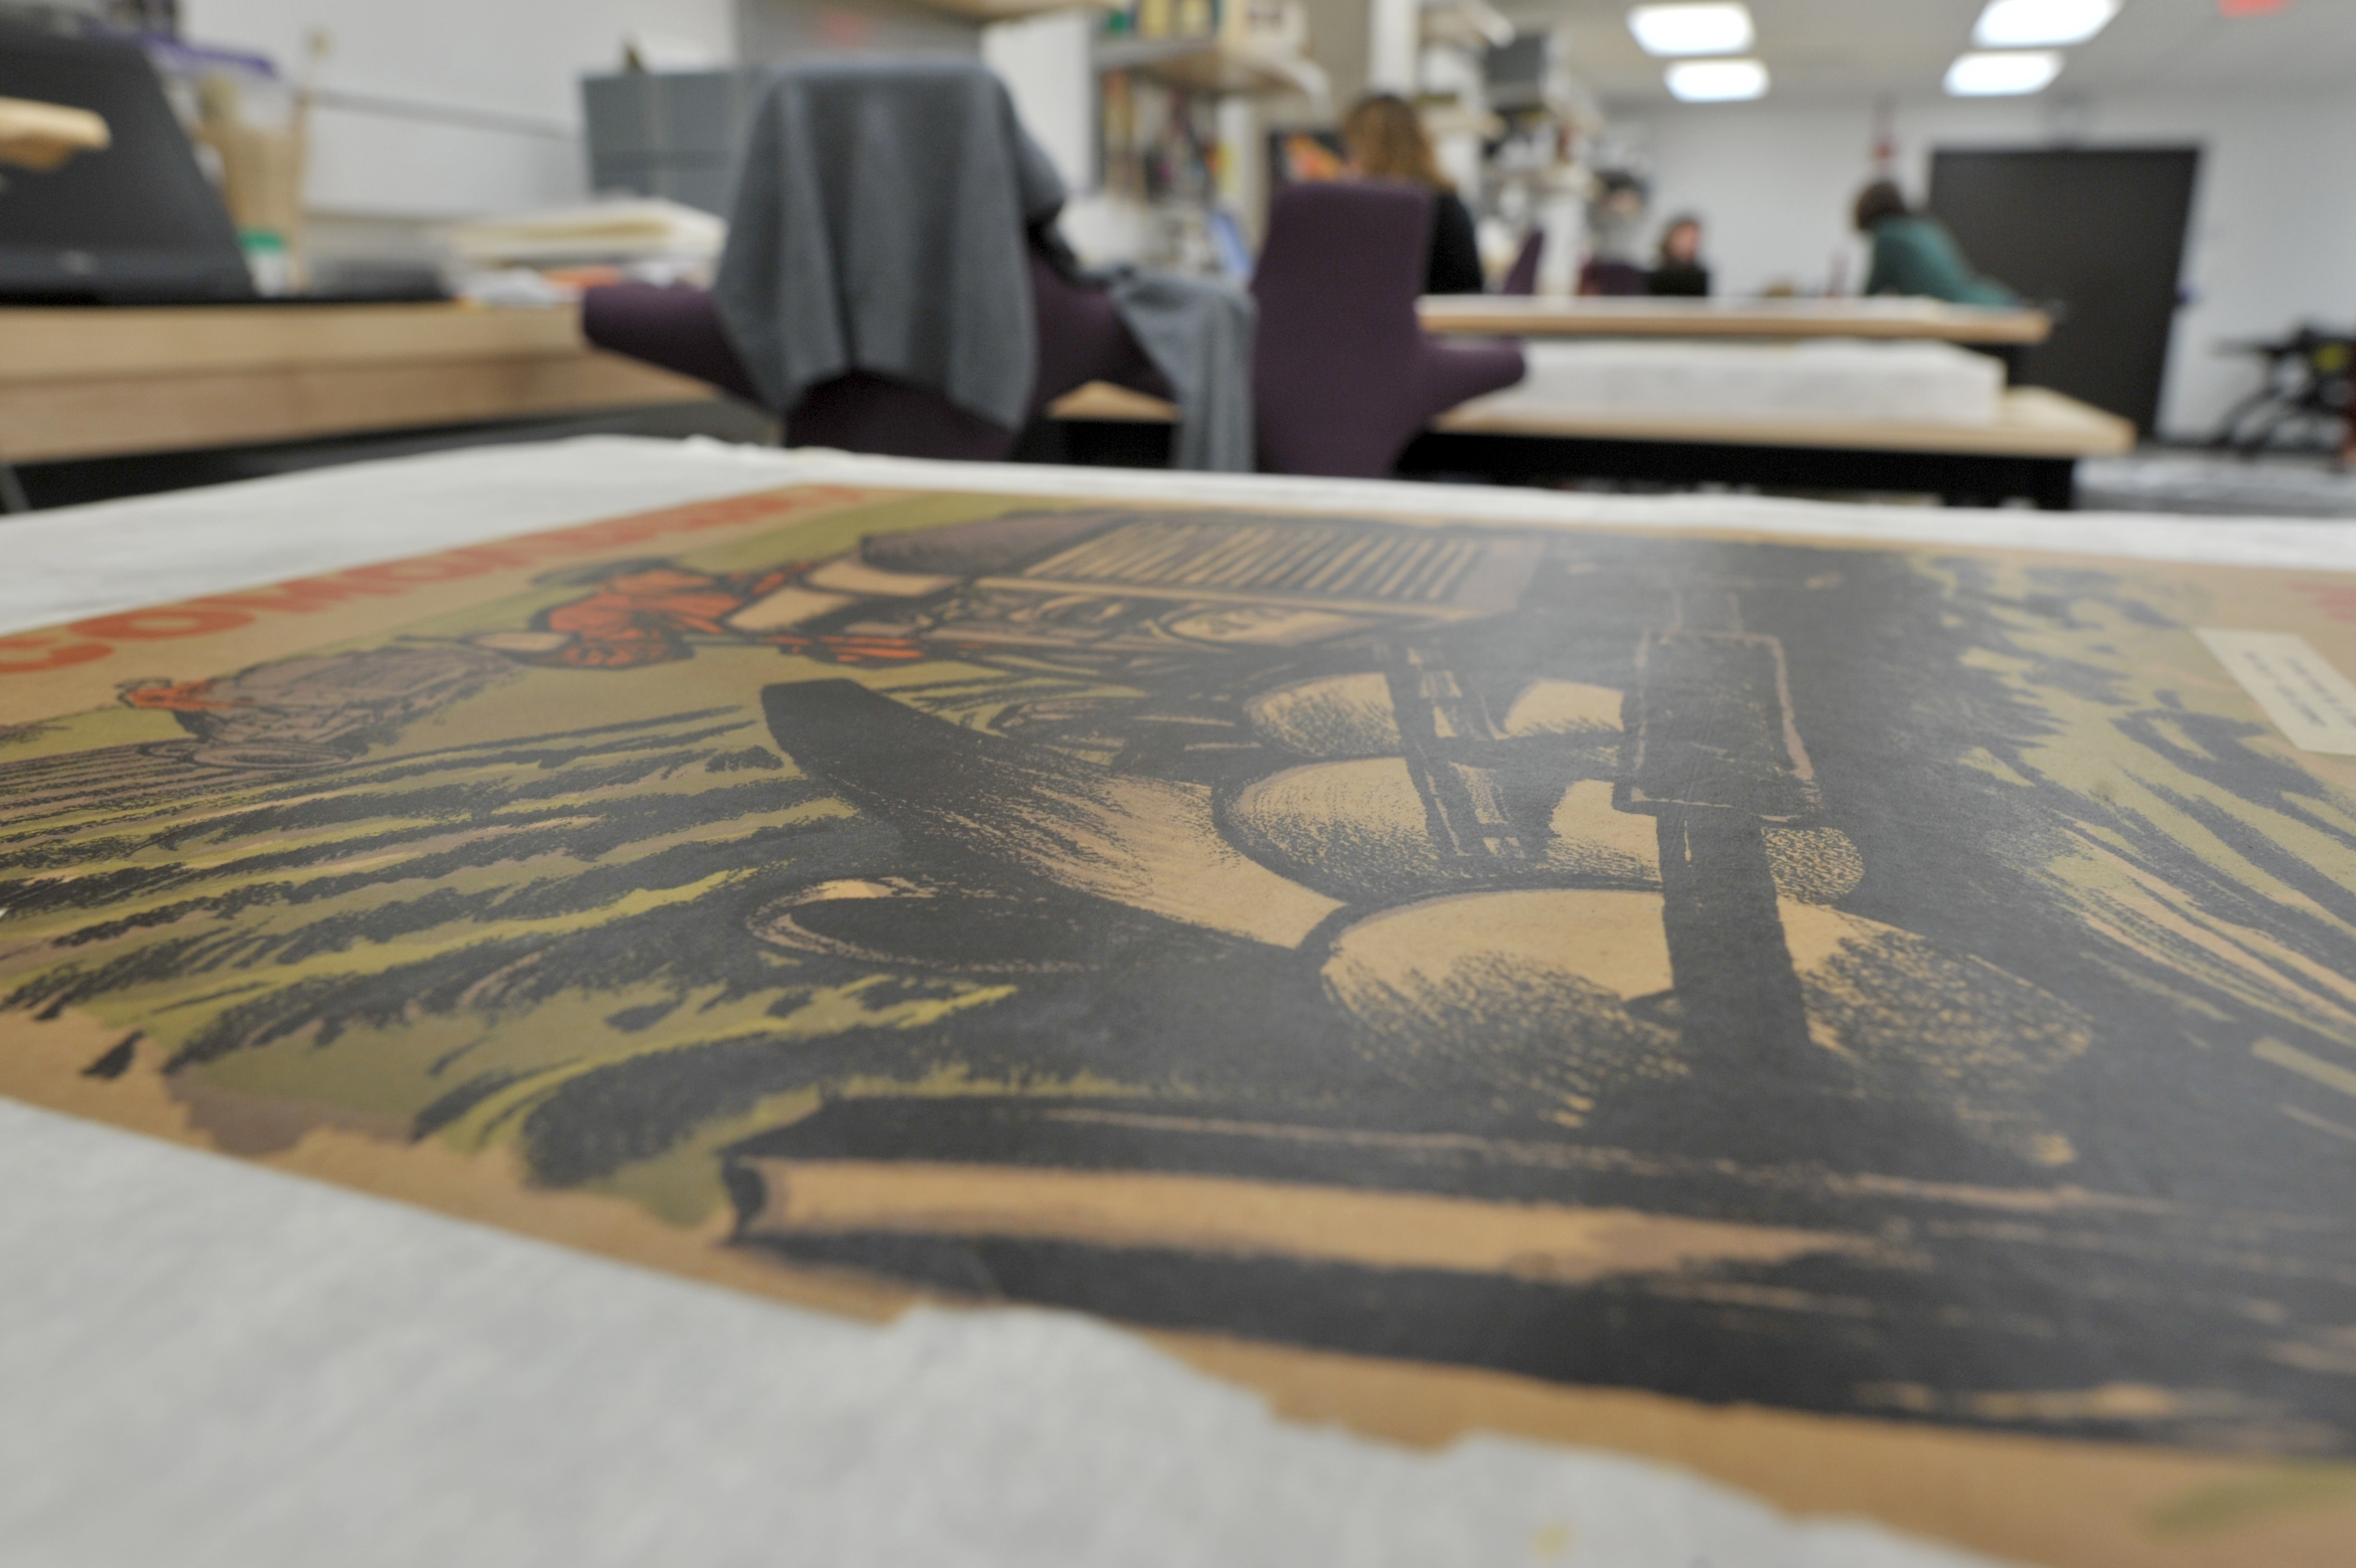
Deering Special Collections has a group of roughly 250 Soviet propaganda posters, primarily from the 1930s and 1940s. A number of the posters were originally printed on low quality paper and suffer from degradation, as well as old pressure-sensitive tape repairs. In anticipation of their upcoming digitization, a group of the more heavily damaged posters was selected for treatment.


Following surface cleaning and media solubility testing, acetone vapor chambers were used to soften the adhesive on the pressure sensitive tapes, which came away easily. Any remaining adhesive was dried with cellulose powder and removed with a crepe eraser.
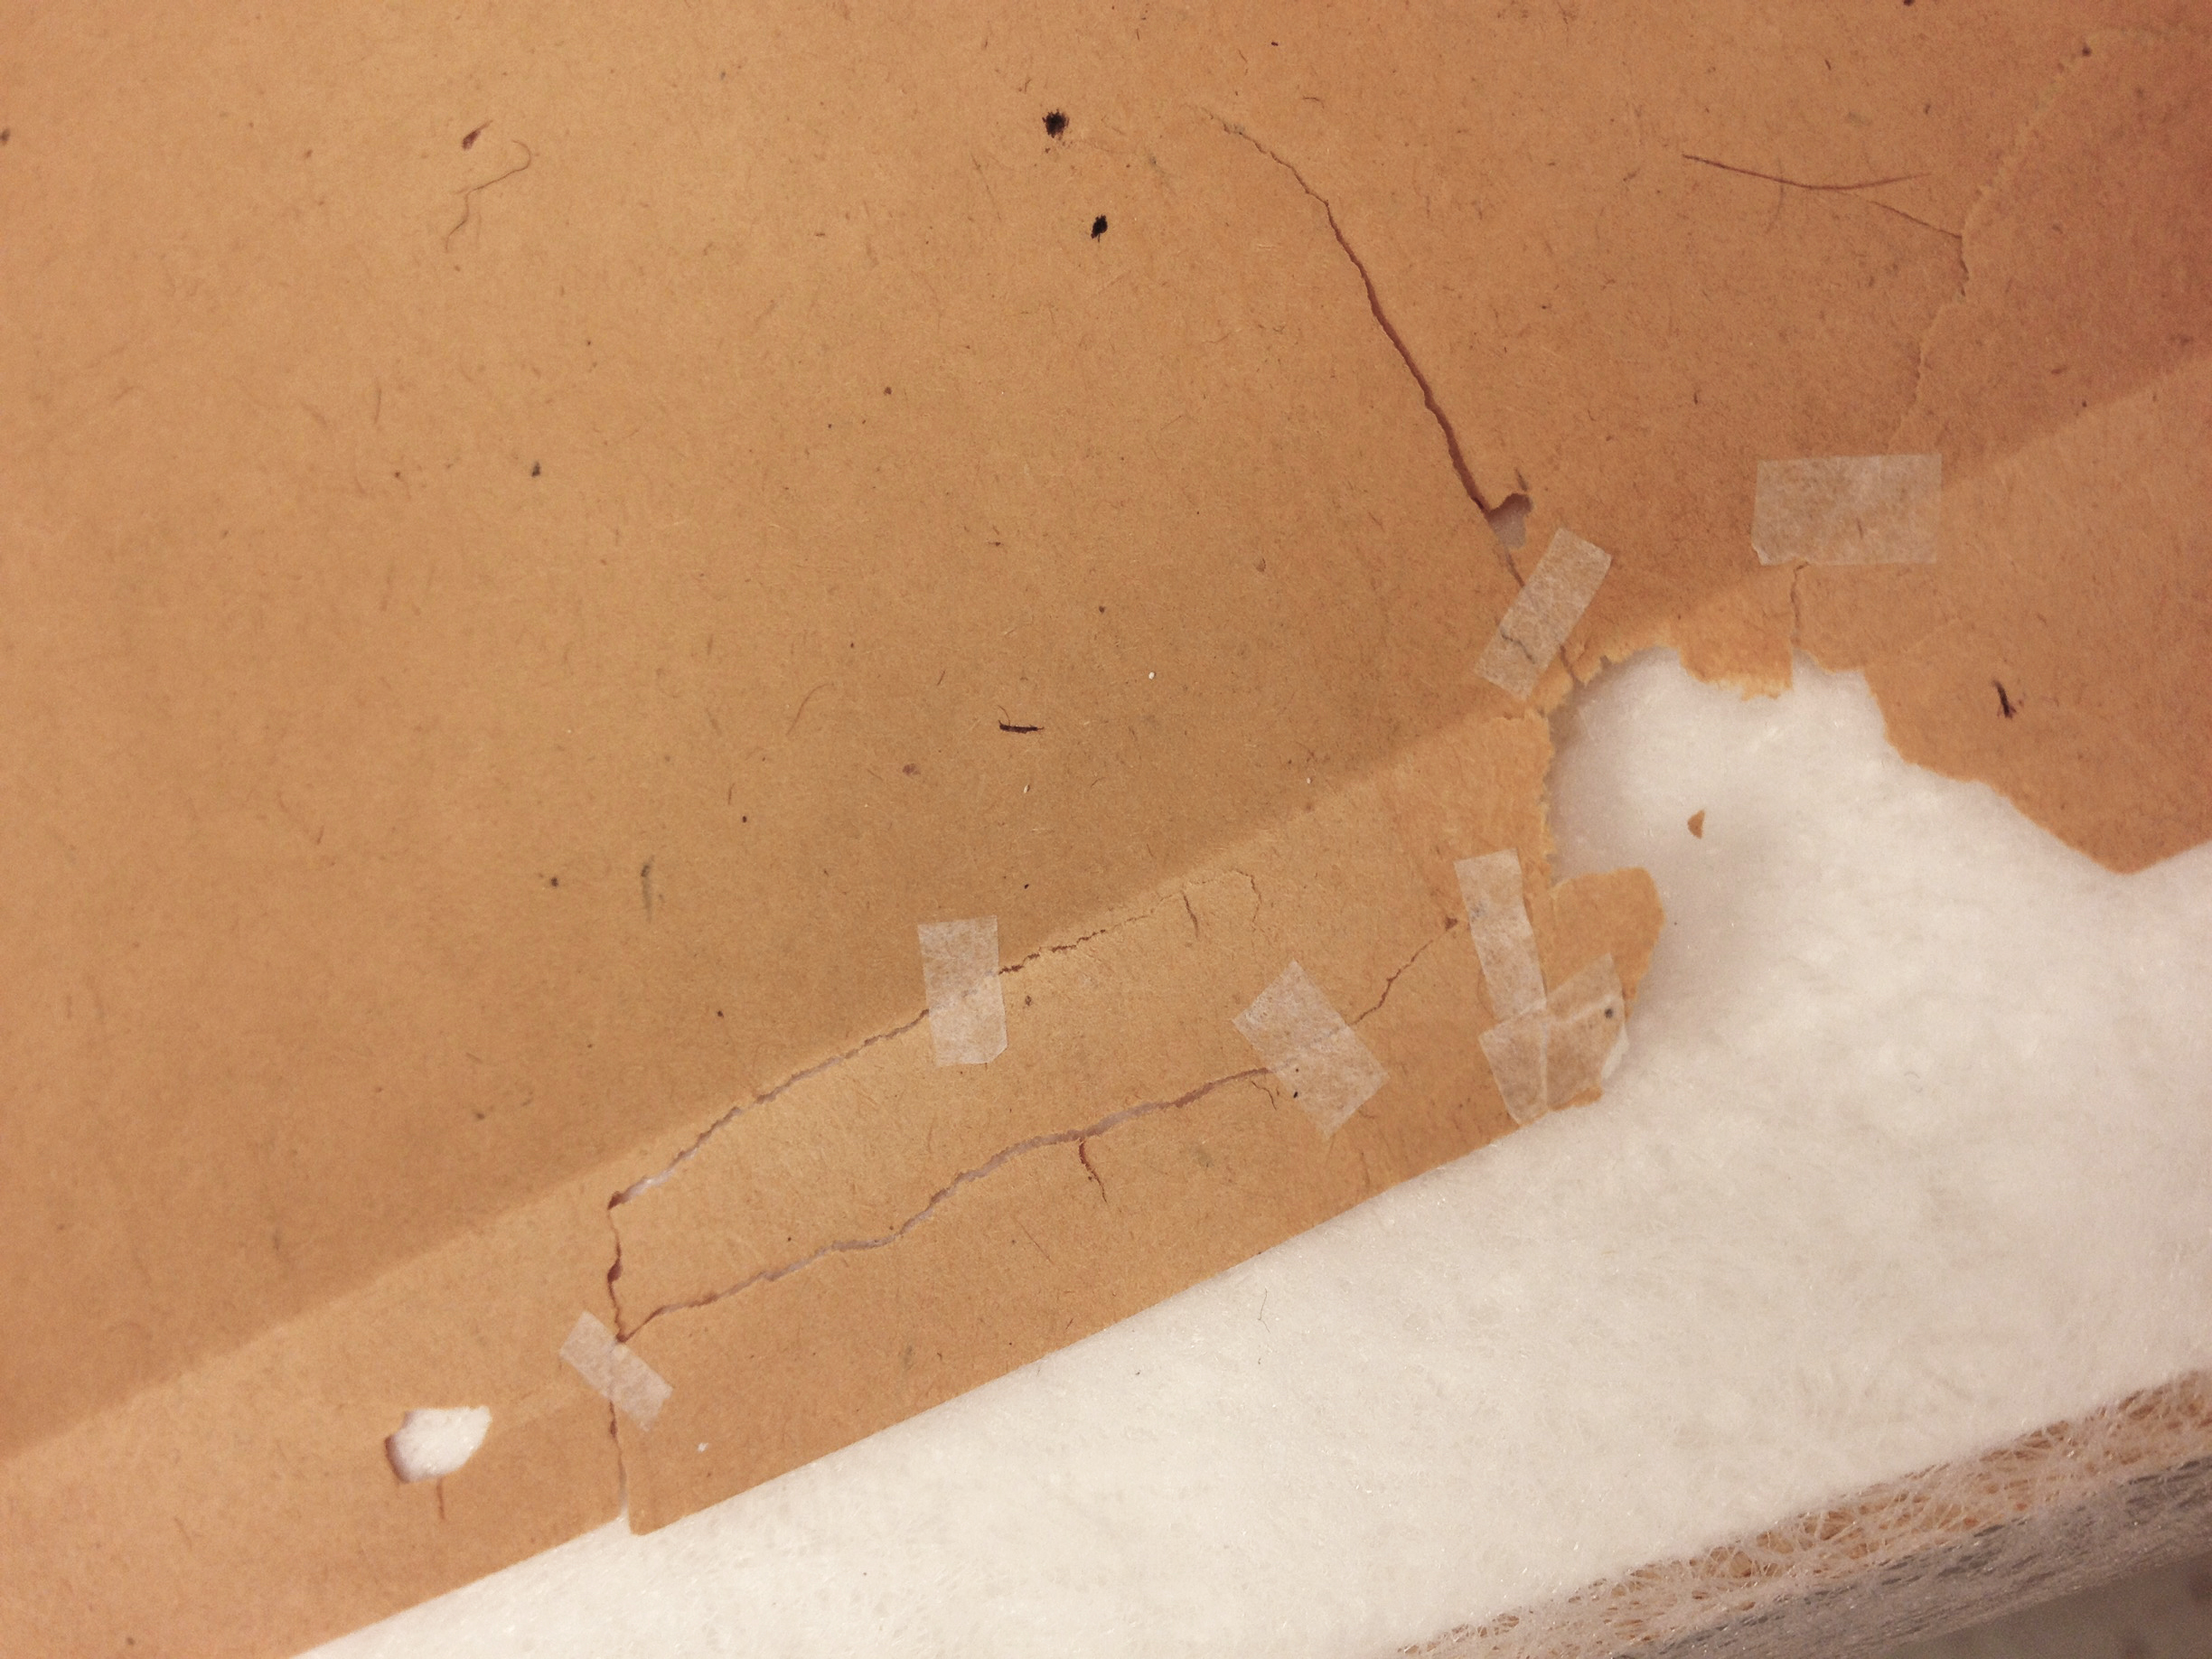
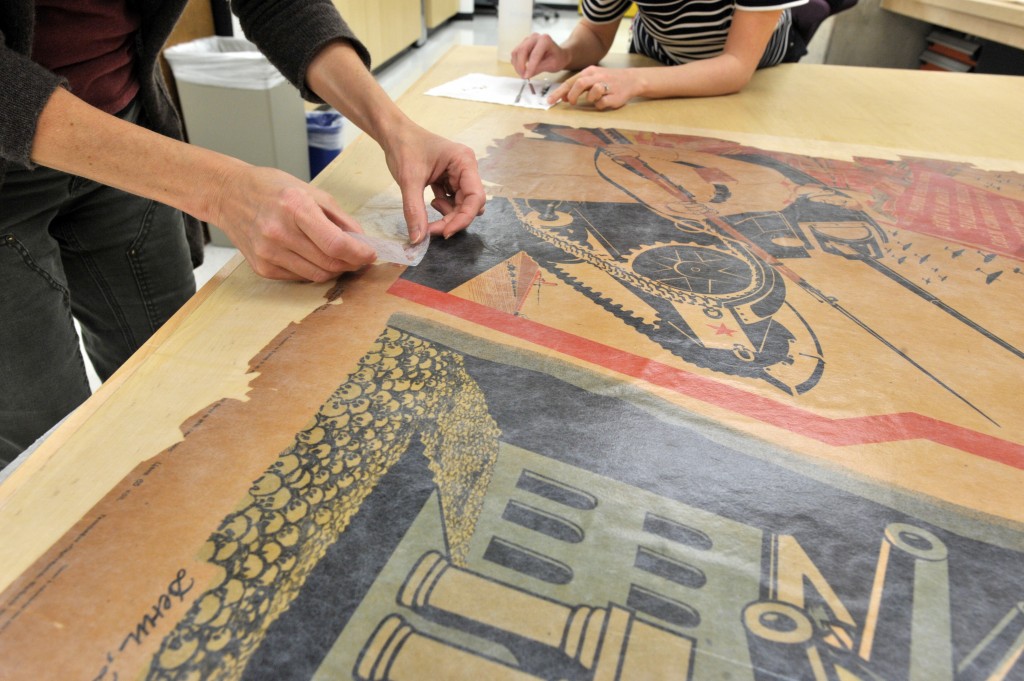
Large tears made some of the posters difficult to transport without risk of further damage. Temporary bridge mends were applied using adhesive pre-coated tissue (Tengujo coated with 50/50 wheat starch paste and methyl cellulose). The same process was used to bridge on any detached pieces.
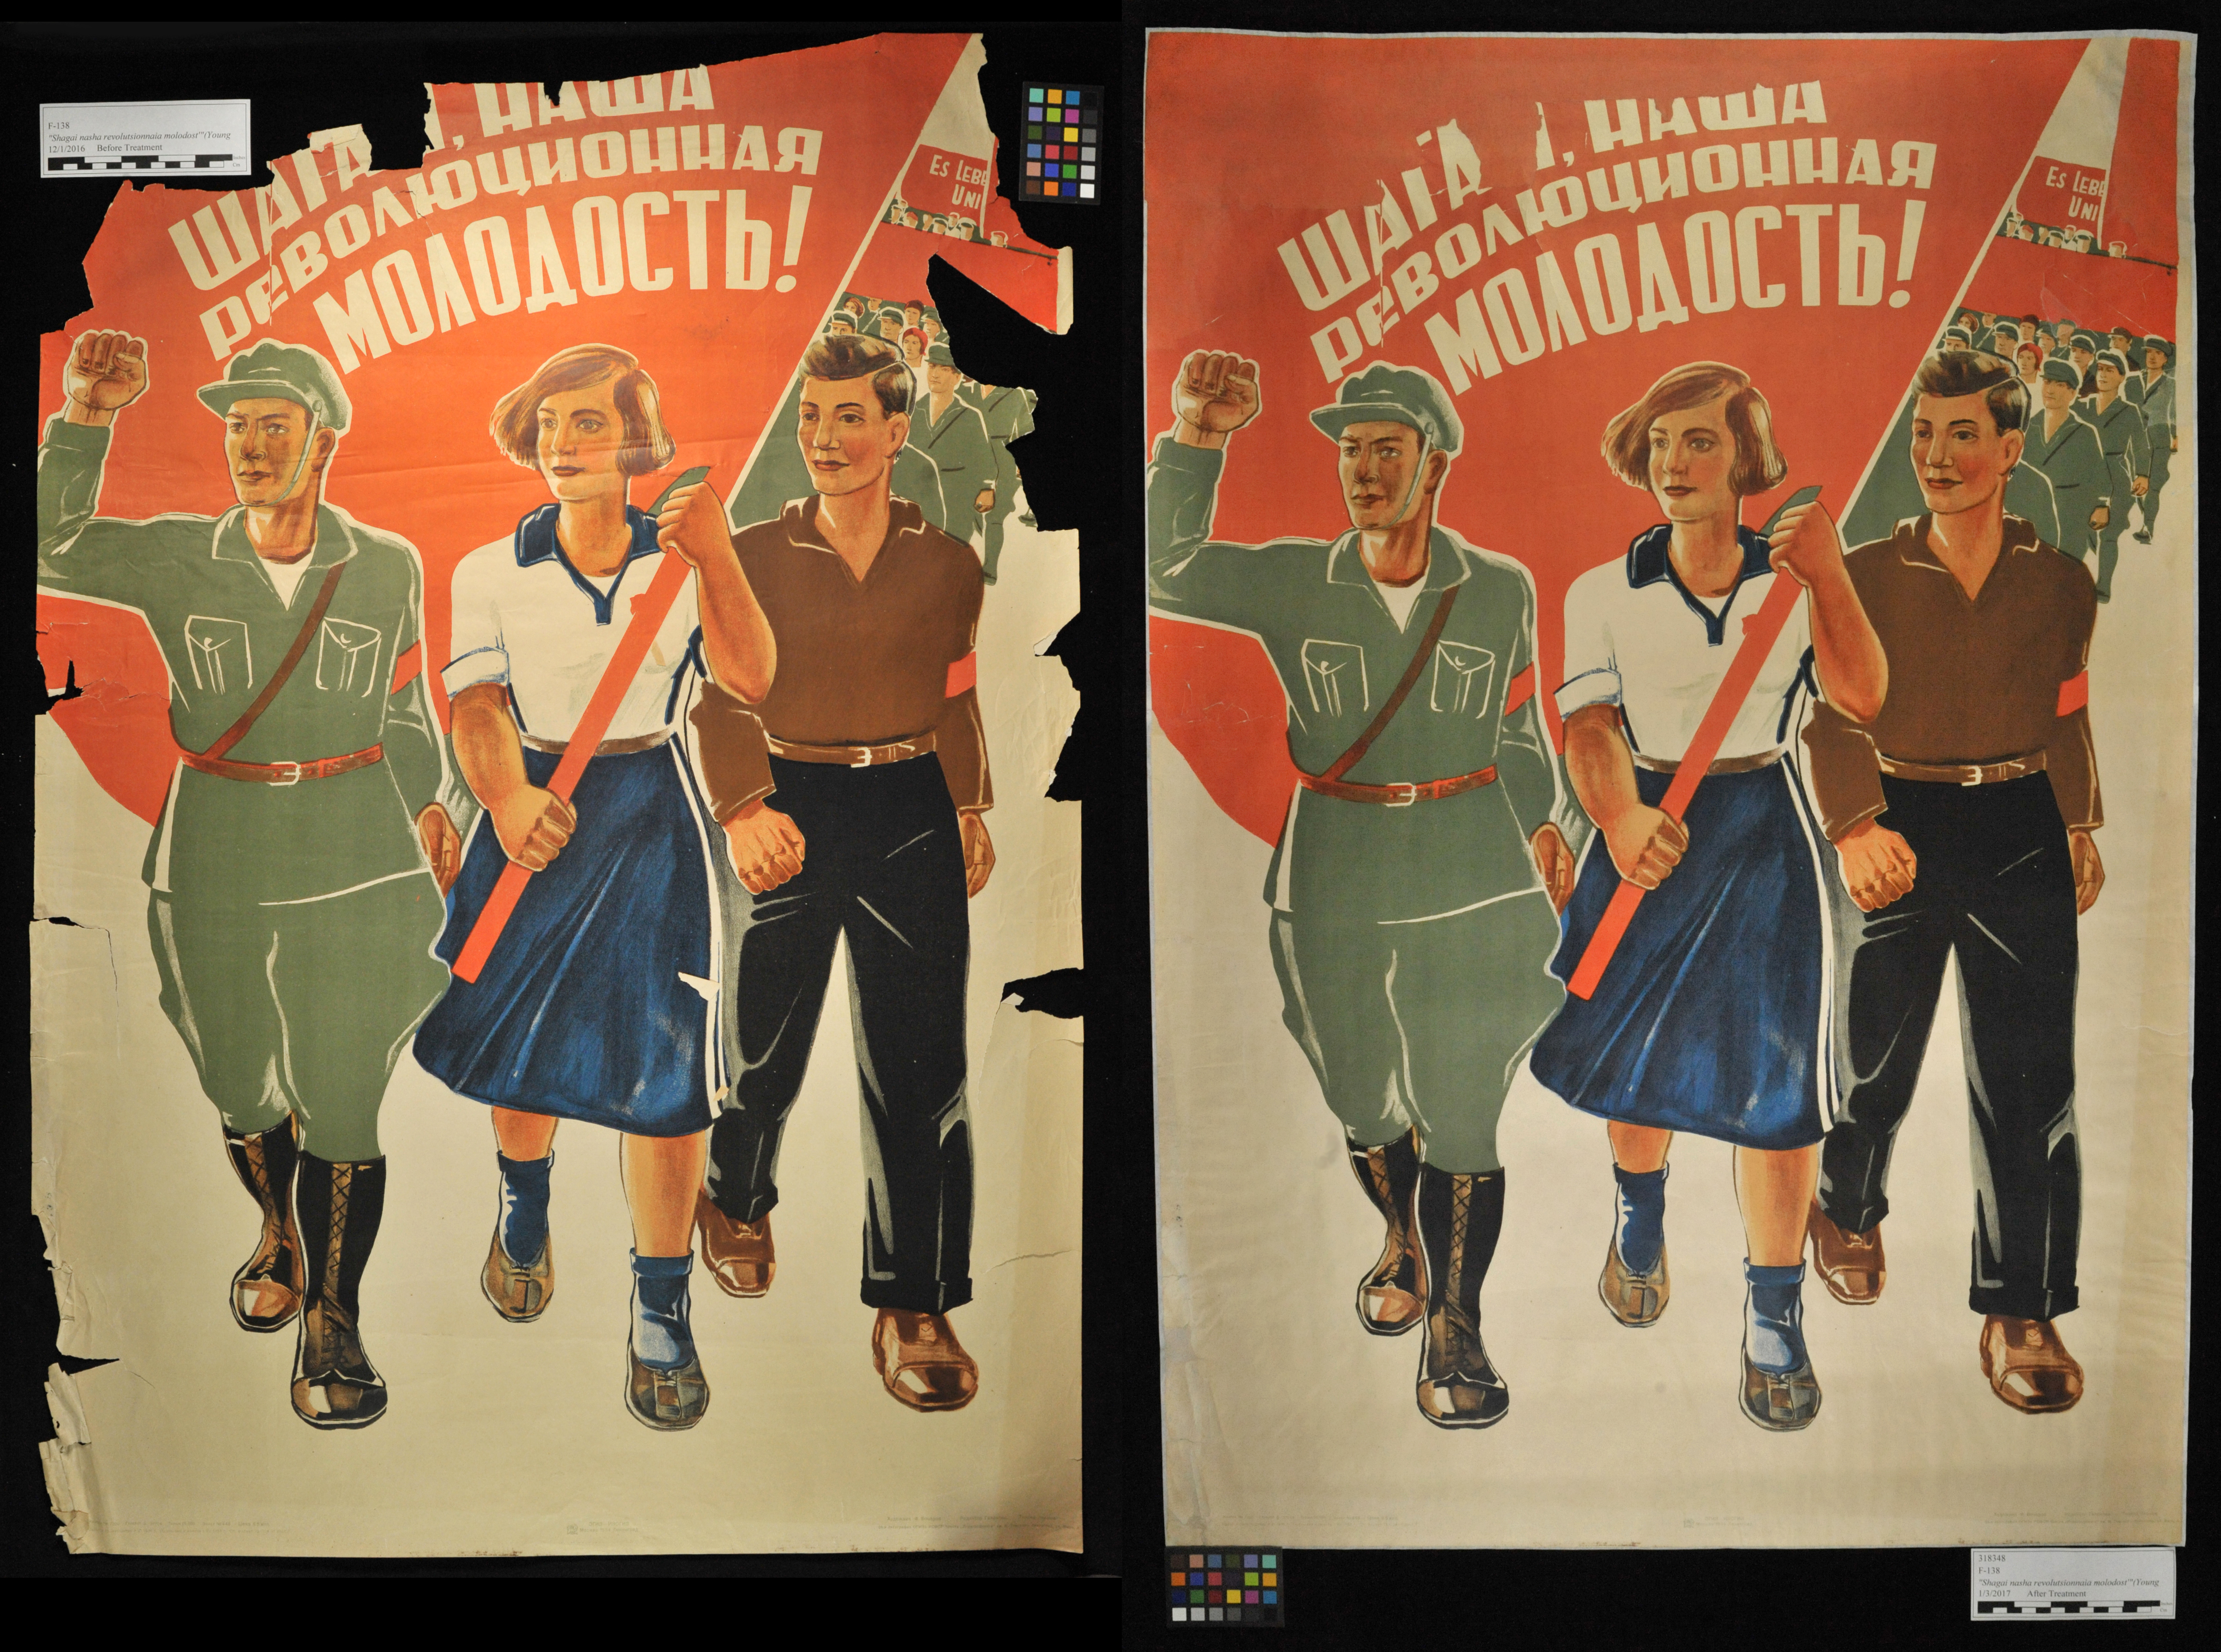
Washing the posters and lining them with tissue was determined necessary for the most heavily degraded posters, with the goals of removing and deactivating deterioration products, introducing an alkaline buffer to prevent further degradation, and providing physical support and consolidation. Due to the sheer size of the posters, this process required a team effort. But together we are stronger, comrades!
Here’s the process we used on each poster:
Preparation
Prior to washing, all media was spot-tested with both water and ethanol. Our primary concern was the potential solubility of red inks, which feature prominently in Soviet propaganda. Red inks have a tendency to move more easily than other colors. If we were to wash a poster with a highly fugitive ink, the process could reduce the color’s brilliance or result in a “haloing” effect around the red areas. We did witness minor red movement in a few of these posters, though only one exhibited enough movement to make washing a risk. For those showing a small amount of movement, the process was sped up to avoid too lengthy a “wet” period.
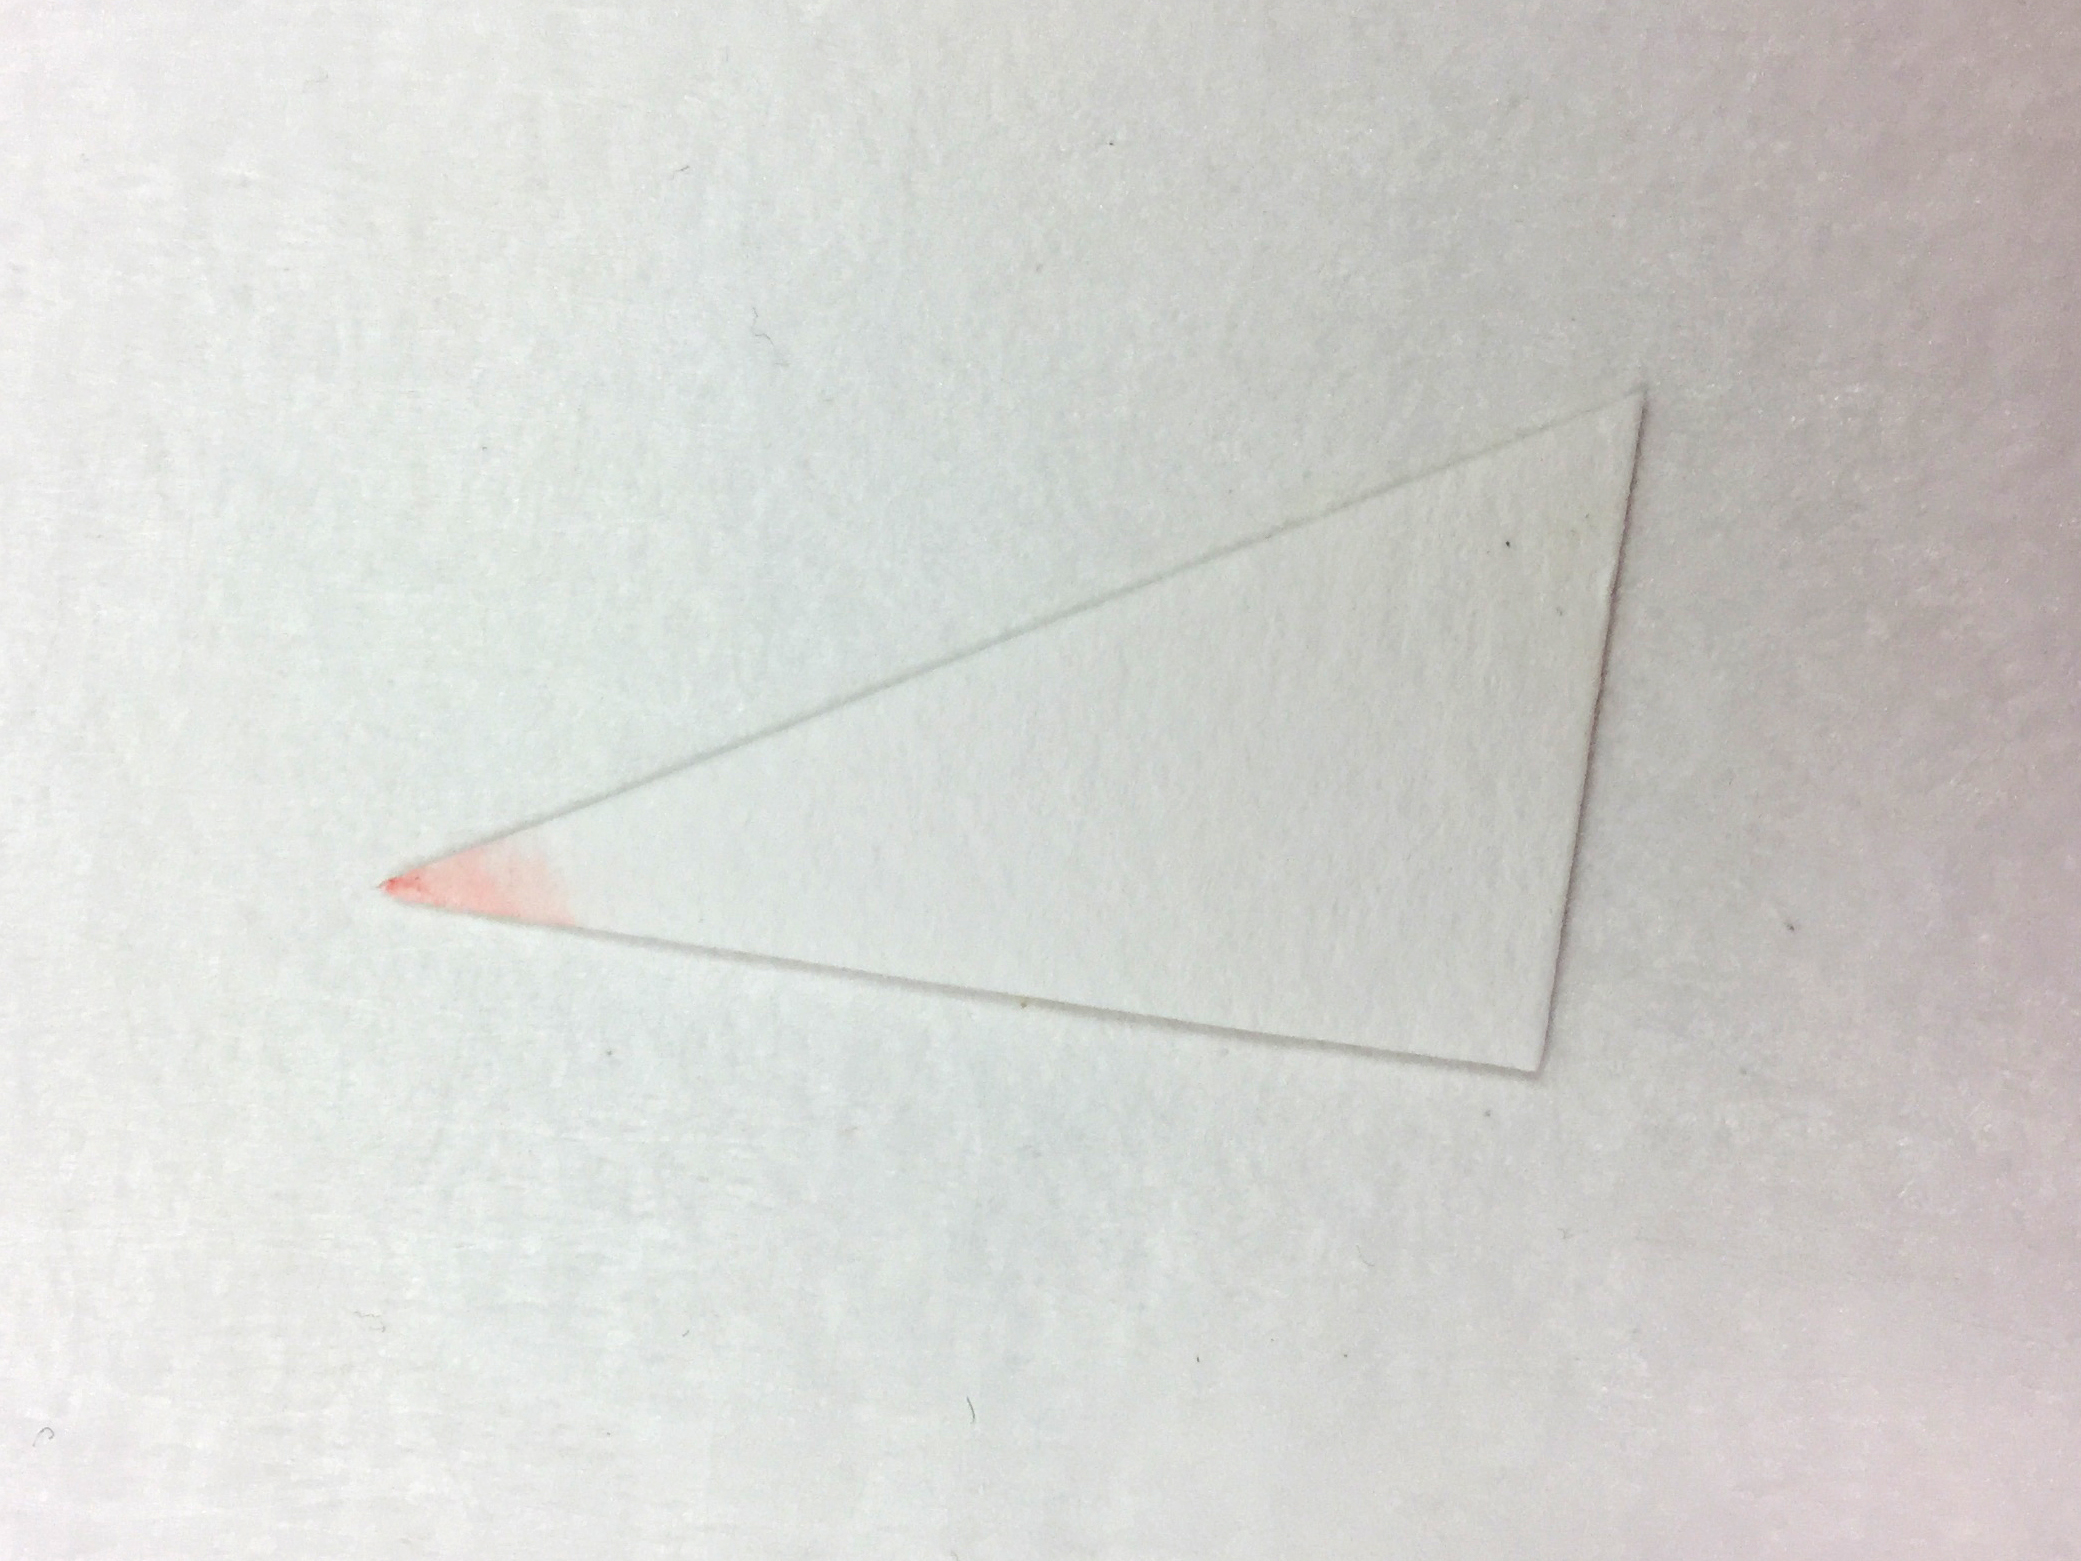
Blotting paper showing fugitive red ink. Scary! This poster was not washed or lined, but received localized treatment.
A batch of pH-tuned water was produced through the addition of calcium hydroxide to deionized water until the desired pH of 8 was reached. All table surfaces were cleaned thoroughly. The poster was placed face-up on sheet of Hollytex, a spun polyester fabric, at least 2 inches larger than the object in both dimensions.
Then the poster was sprayed out: first with a water/ethanol mixture if the surface was resistant to water wicking, then with pure water until the entire surface was sufficiently saturated. At this “soaked” stage, all media was again tested with blotting paper. Luckily, we detected only a minimal amount of movement—and we’re no McCarthyists. Onward!

Backing removal
Two of the seven posters we treated possessed old paper backings. These were poorly applied, exhibited acid-induced degradation, and needed to be removed.
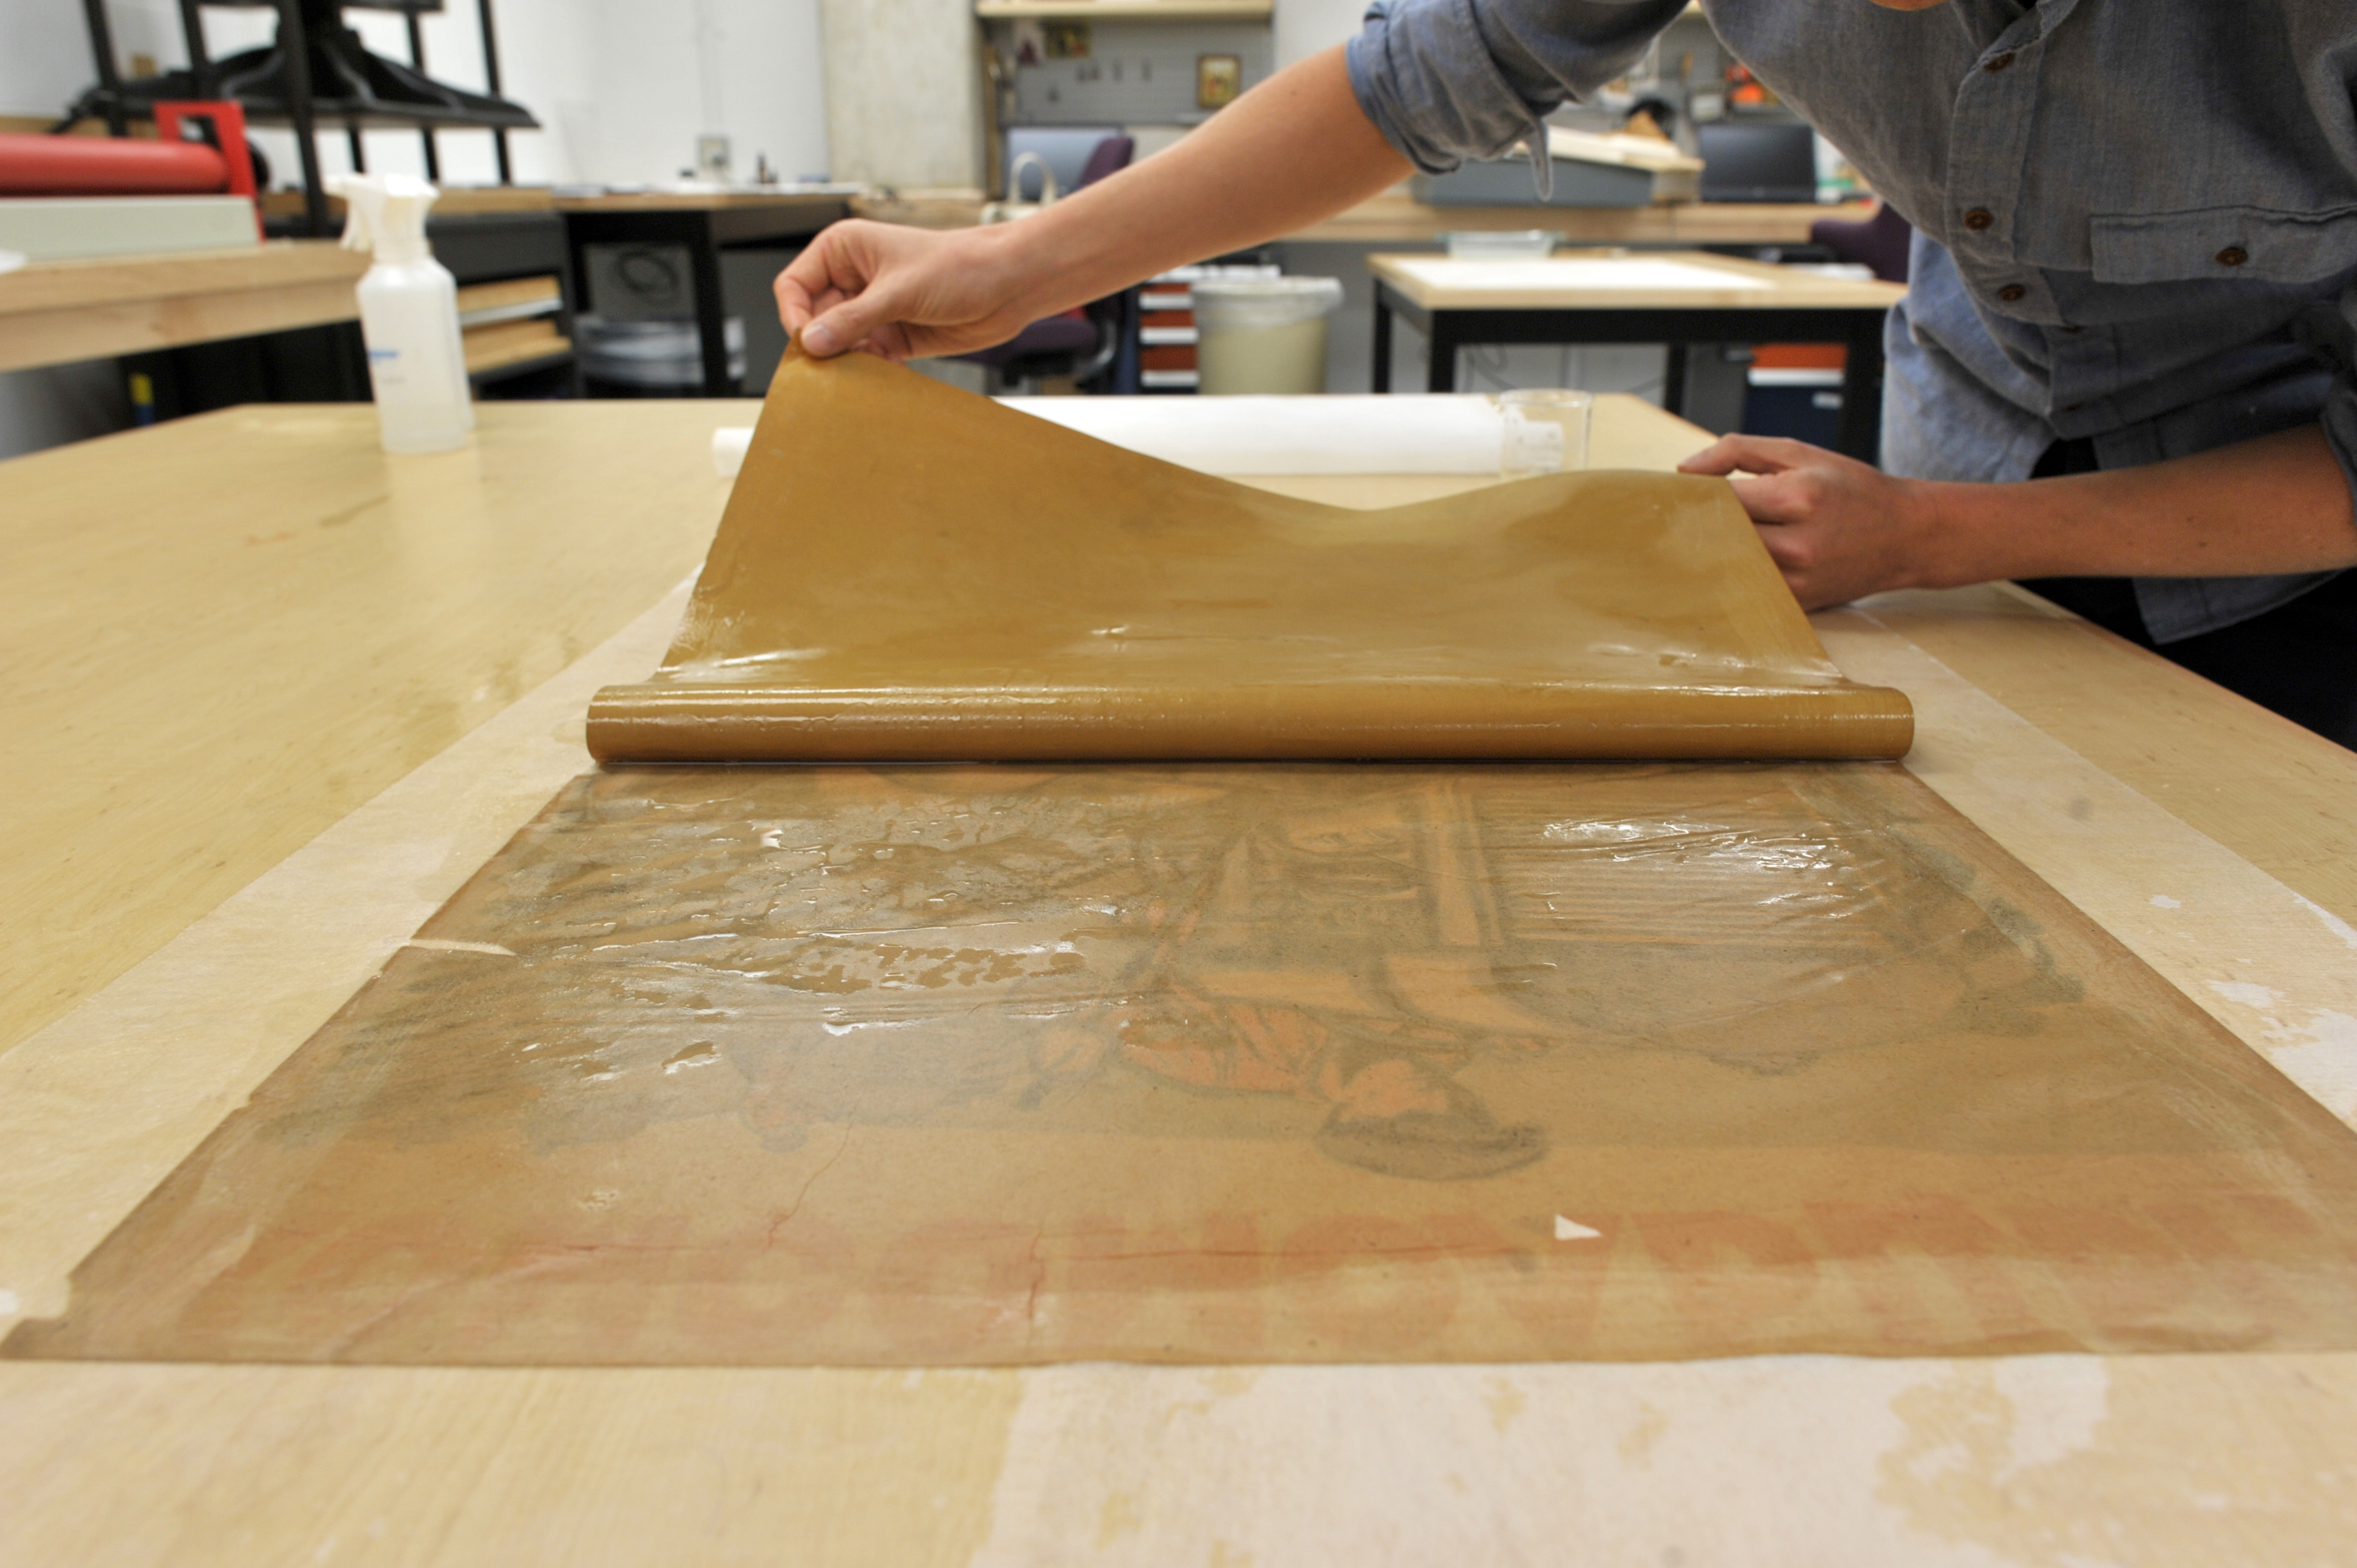
In a face-down position, the backing was lifted from the object, and any remaining adhesive was removed with a microspatula and cotton swabs. To our luck, the backing removal was remarkably easy: the adhesive was softened, and the backing papers pulled away by hand with minimal risk to the poster.


Washing
A brief soaking period (5 to 20 minutes) helped to loosen degradation products and discoloration, but movement of the water was also needed to physically carry away the dirt. These posters were too large and delicate for total submersion, so table washing was used. After soaking, the poster was positioned so that one corner of the Hollytex sandwich (but not of the object itself) hung over the edge of the table, and a plastic tray was placed underneath. A water brush (mizubake) was then used to direct the water towards the hanging corner, where it dripped into the tray. As long as all media appeared stable, the poster could be soaked and brushed multiple times until the water ran satisfactorily clear.


Lining
The poster was again flipped to lie face-down; wrinkles and bubbles were brushed away, as it was critical for the poster to lie as flat as possible. Before pasting out, it was important to choreograph our “dropping dance”: what will be your exact movements to transport the pasted tissue from pasting table to object? What hand will you use to lift the tissue, and with what hand will you place the tissue? If a second person is needed, what is their exact role, and will the tissue need to be handed off? Will you carry your mounting brush in your back pocket, or is it sitting next to the poster? This was where our long-dormant miming skills finally came in handy.
The tissue was laid down onto a clean surface, with the paste, paste brush (noribake), spray bottle (water), and dropping stick (hikkake) nearby. The tissue was gently sprayed with water and given time to expand—roughly 30 seconds. Any wrinkles were flattened by hand.
The tissue was then pasted out with thin wheat starch paste at a consistency of heavy cream. A highly meticulous brushing pattern was required to avoid wrinkles—a series of forwards and backwards K’s worked well with the tissue’s grain. Even coverage was important; once fully covered, the brush was used to lightly flatten the paste with parallel vertical strokes across the entire sheet.

One short end of the tissue was lifted and wrapped onto the dropping stick, making sure the tissue was attached evenly and flatly across the stick, as any flaws could grow into wrinkles during the dropping process. The stick was used to lift the tissue sheet from the pasting table and to carry it over to the object.
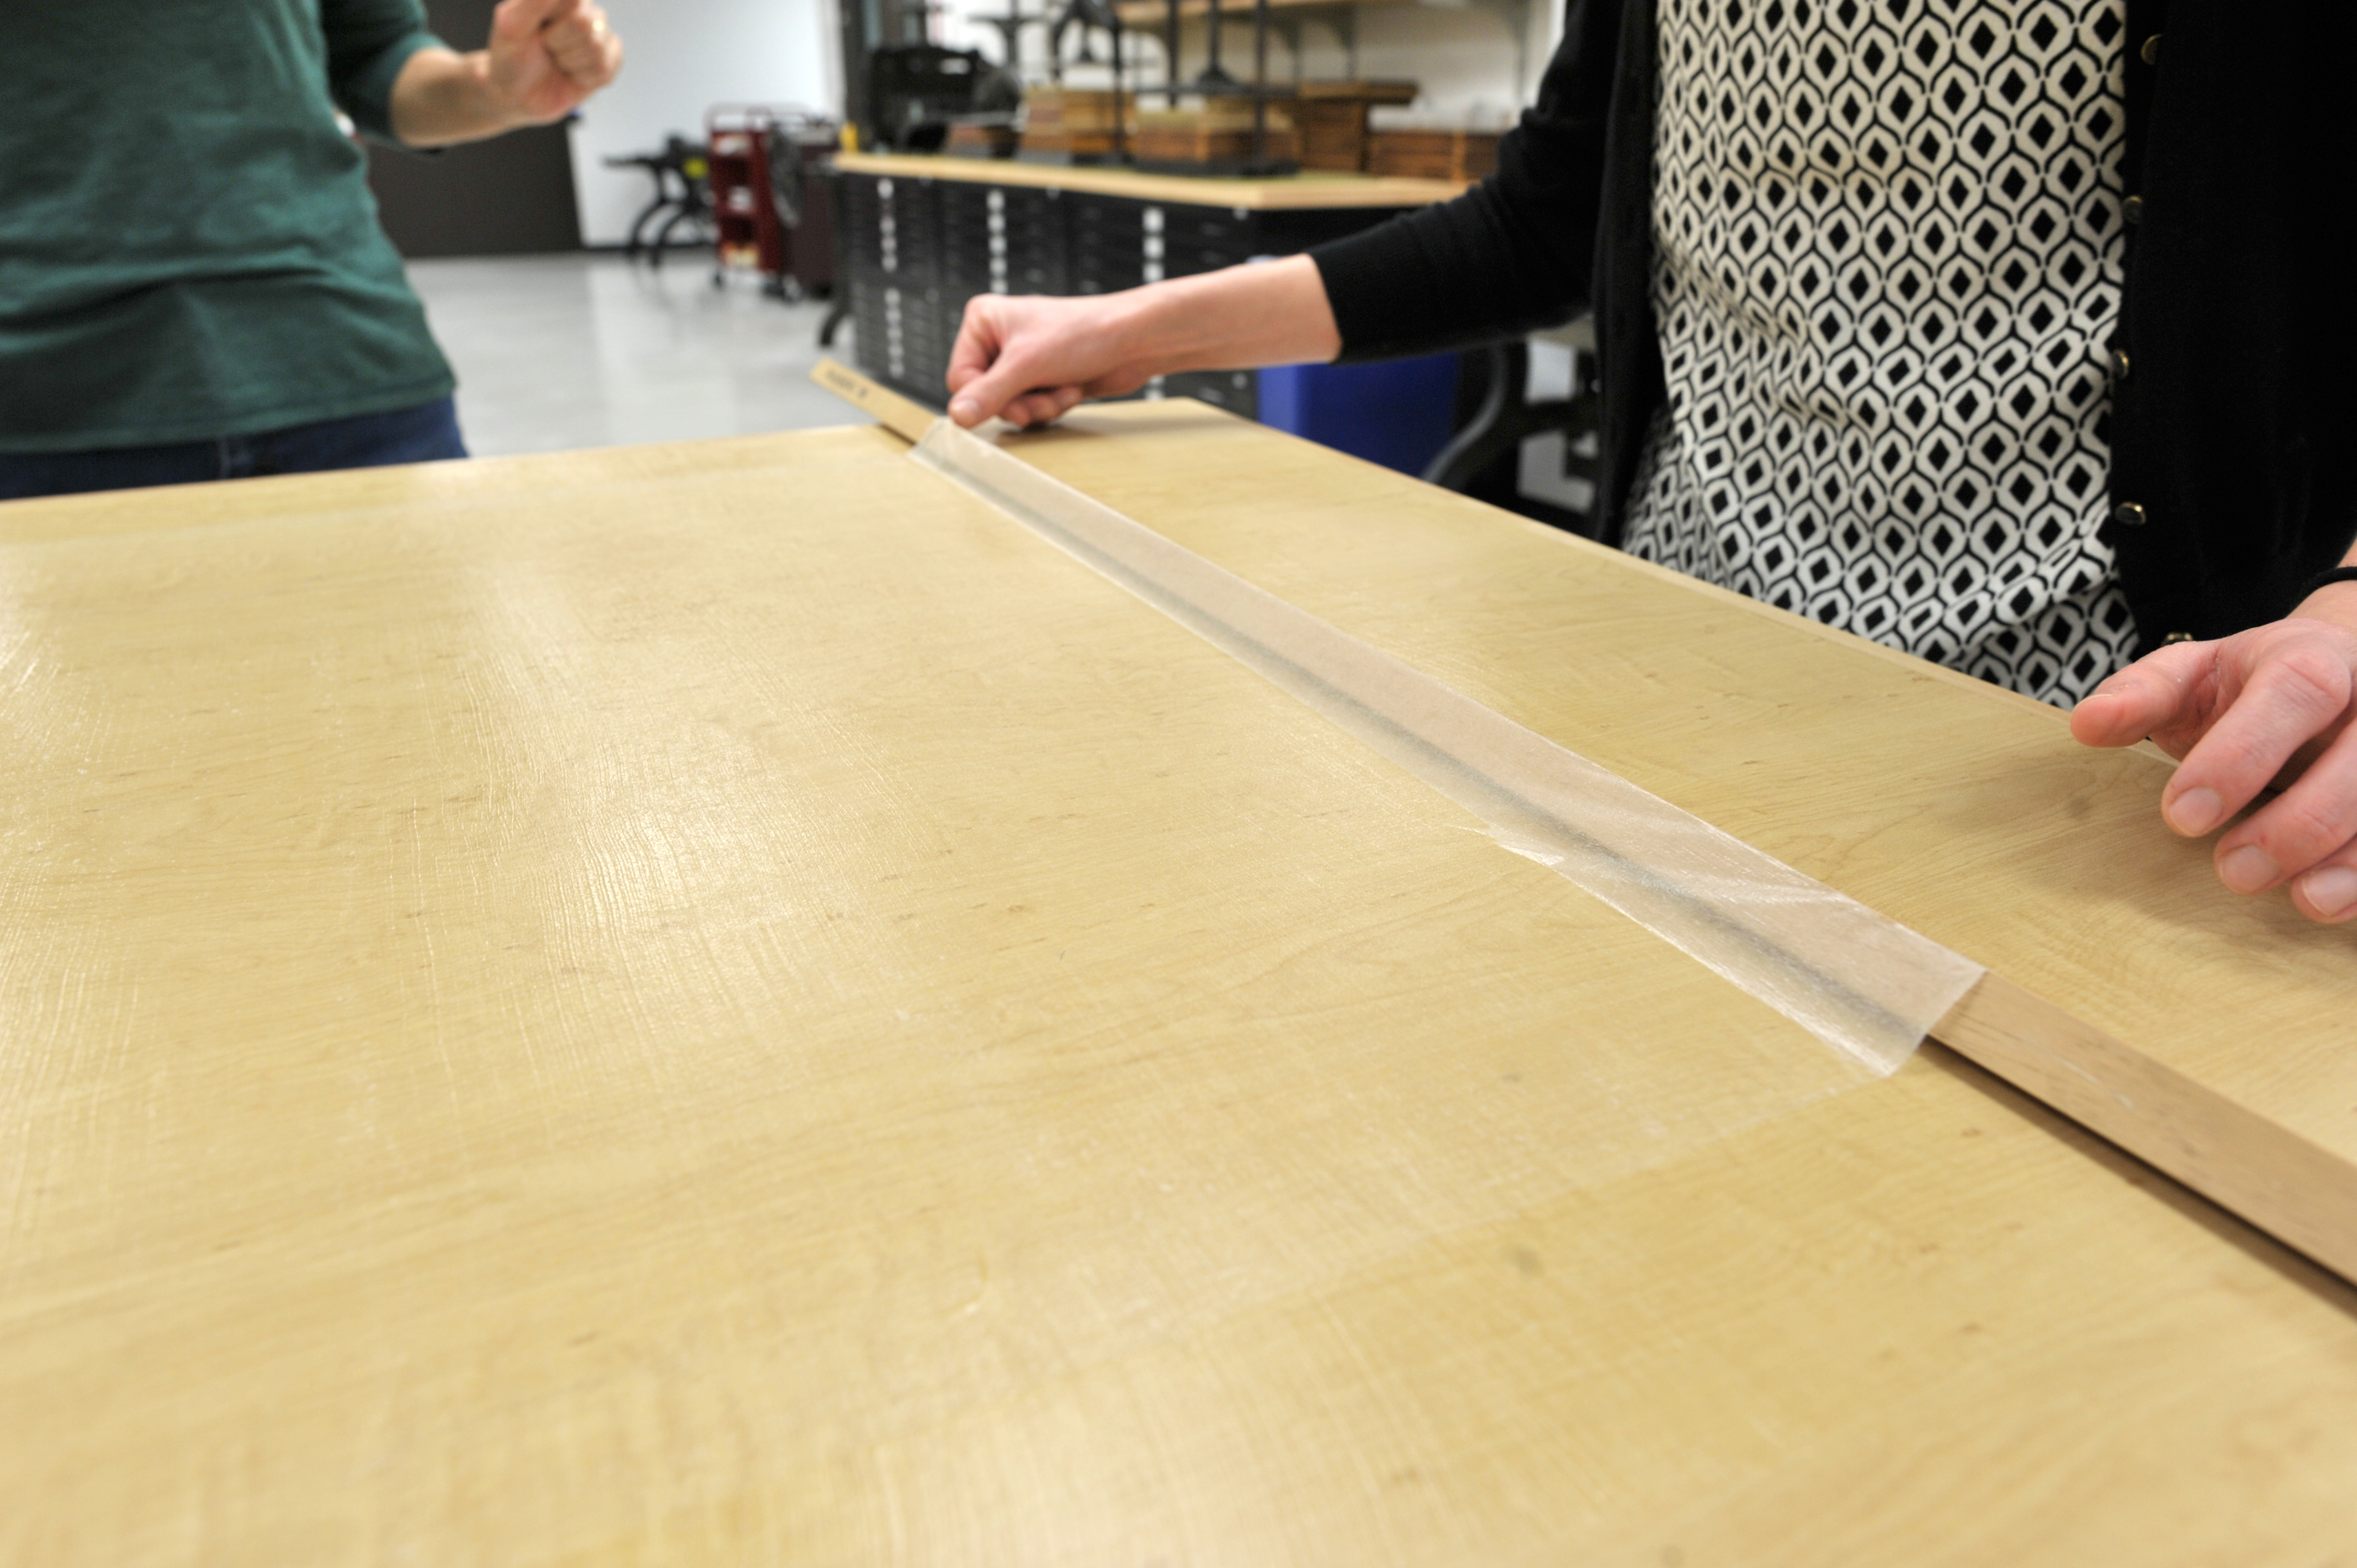
One edge of the tissue is wrapped onto the dropping stick, or hikkake.

The stick is used to lift the pasted tissue from the table.
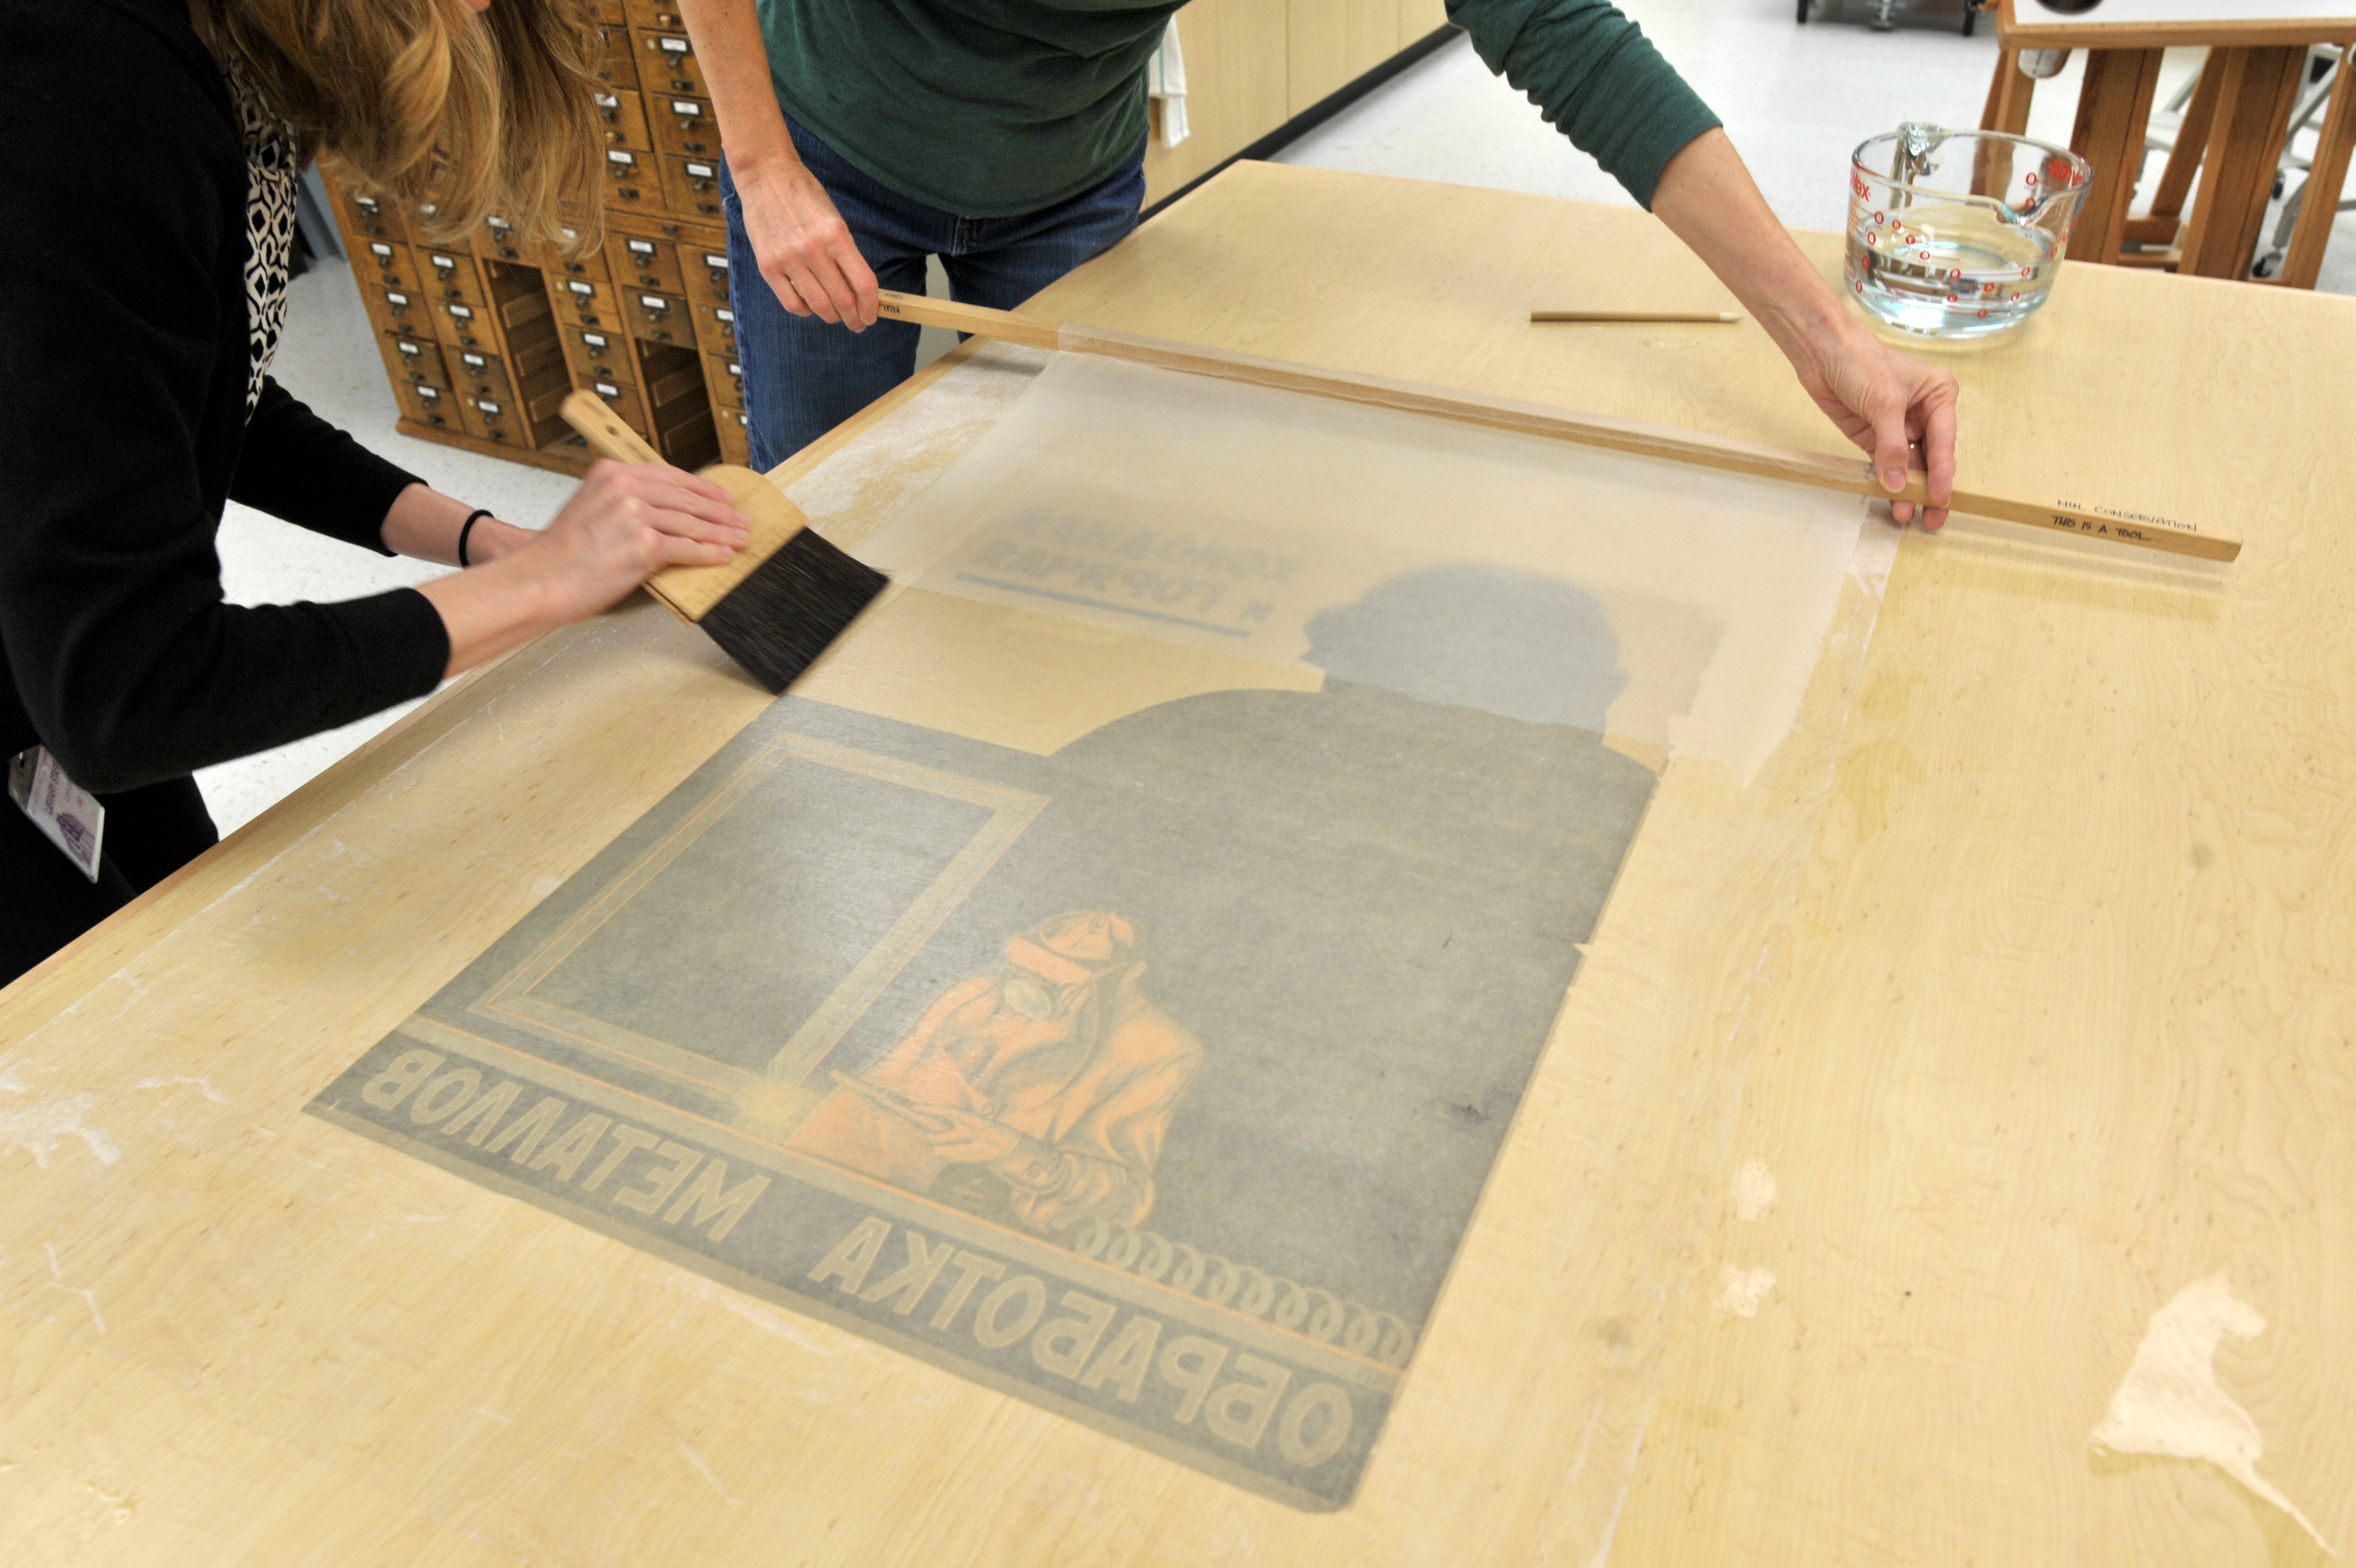
A second pair of hands proved especially useful at this point, when the loose end of the pasted tissue was placed onto the object. The stick was then lowered while the tissue was brushed down onto the object using the mounting brush (nadebake). This movement could be carried out by two people—one with the stick and one with the brush—or solo, with the dropping stick in one hand and nadebake in the other.

The loose end of the pasted tissue is carefully laid down onto the poster’s verso.

Several of the posters were too large for single sheets of tissue. In these cases, the separate pieces of tissue were overlapped along water-torn edges at a margin of roughly 1 cm. Before dropping the second sheet of tissue, narrow strips of Mylar were placed roughly 1 cm behind the water-torn edge of the first sheet; if excess overlap occurred, the Mylar would prevent adhesion in those areas, and excess could be needle-torn away.

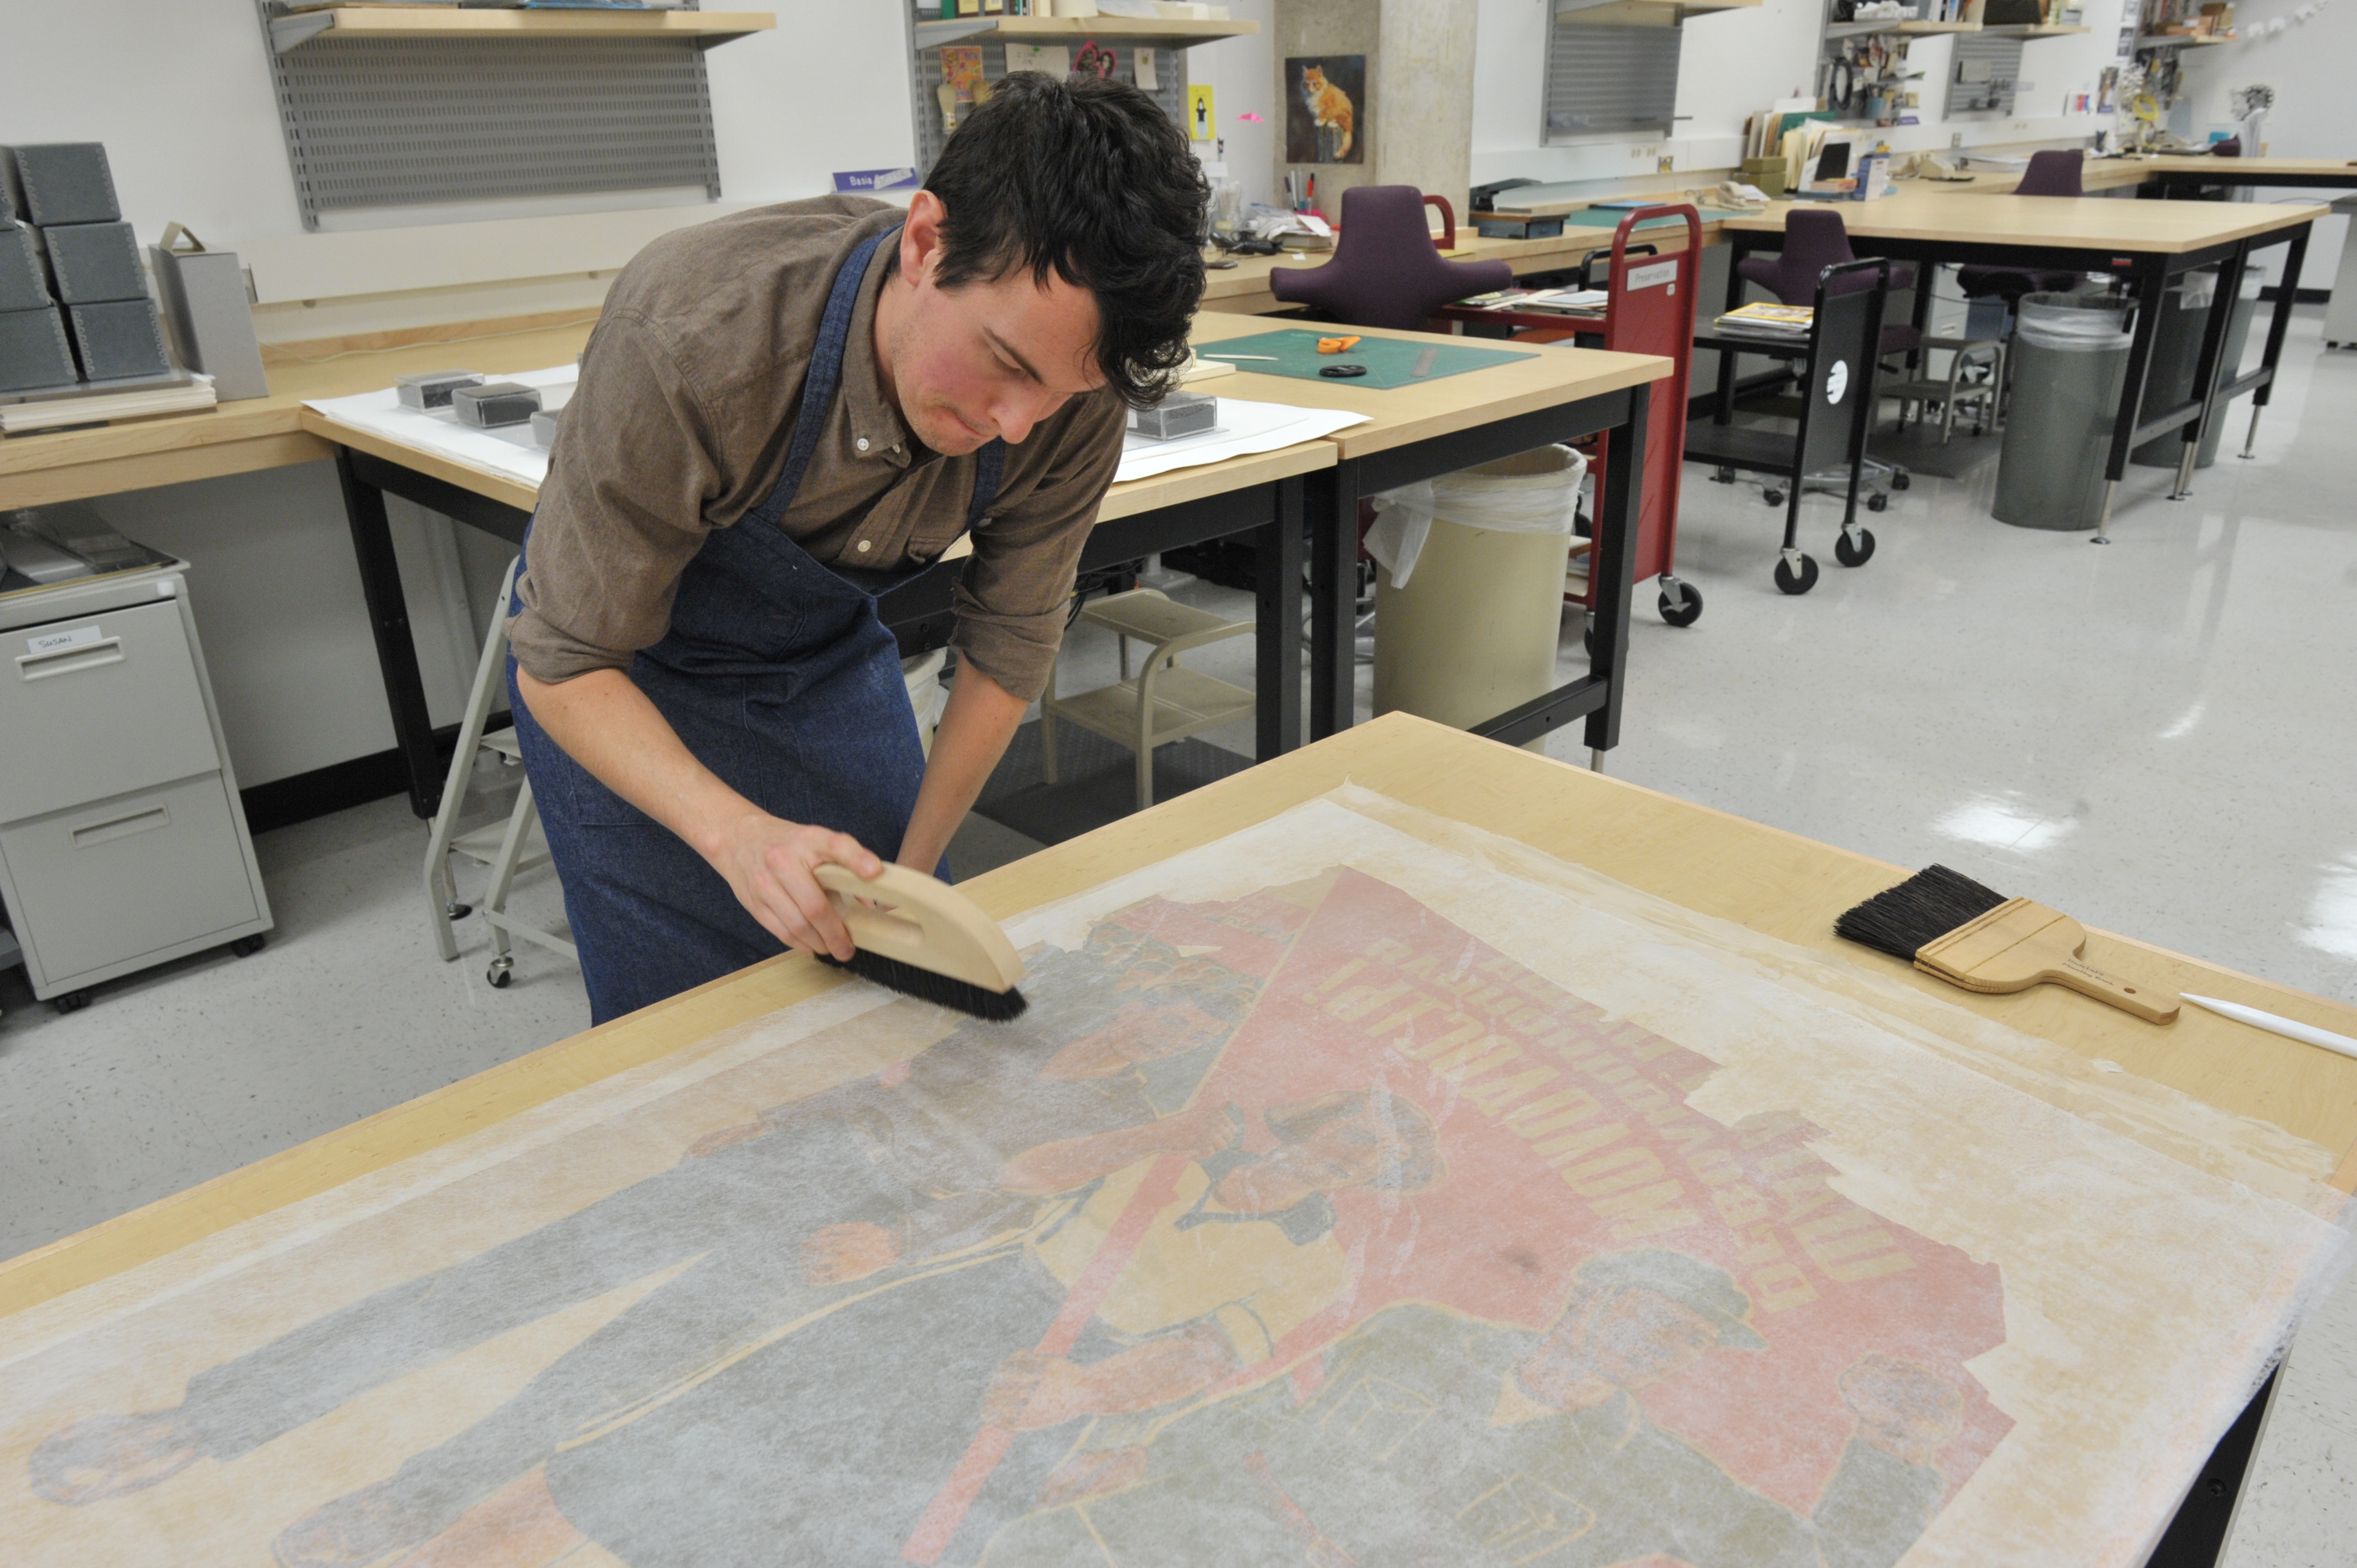
Following lining, the pounding brush (uchibake) was used in a rapid motion to encourage thorough adhesion over the entire poster.
Drying
The poster was flipped to lie face up on a drying rack, and the top sheet of Hollytex was removed. The posters were monitored over the next couple of hours, as the edges tended to dry faster than the center. An occasional spray of water prevented them from cockling.
Once the posters were visually dry, but still cool to the touch, they would be placed under weight between Hollytex and blotting papers.
Filling
After a week of drying, the extra tissue was trimmed, and acrylic-toned tissue was used to fill losses.


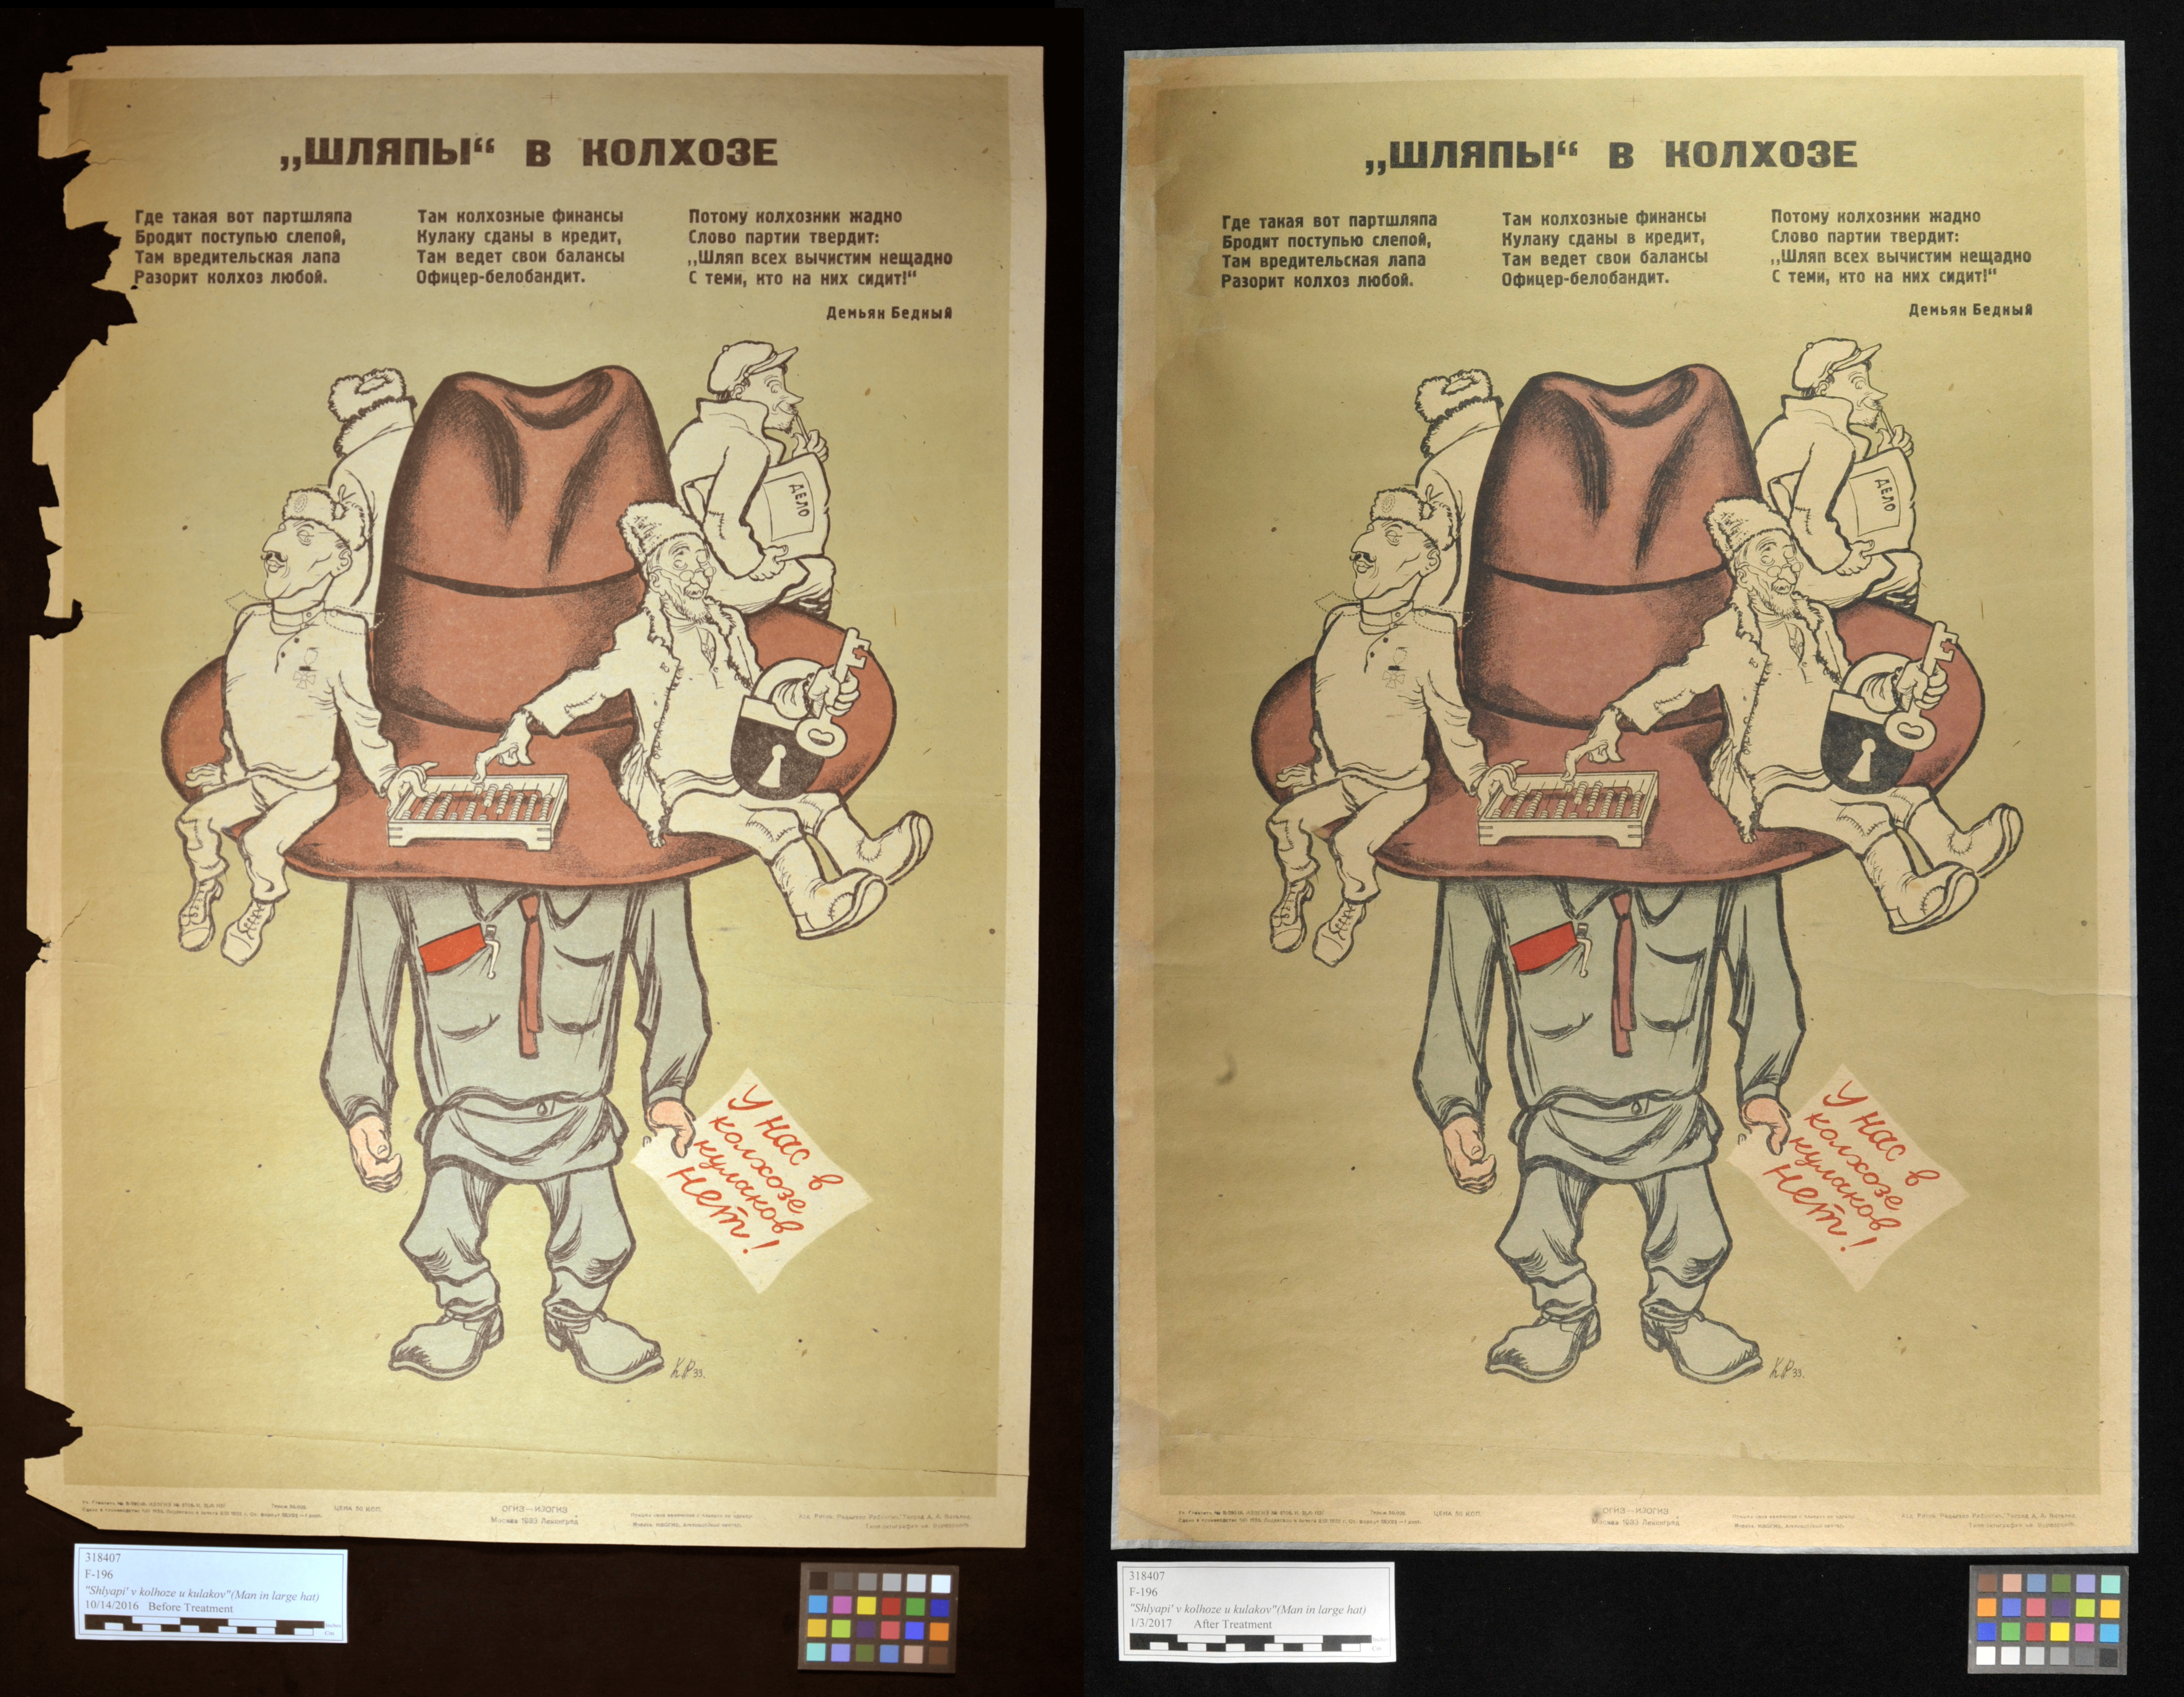
Now the posters are in a more stable condition, safe for handling and future display, and hopefully less likely to degrade further. They will be housed in Mylar L-sleeves with alkali backing sheets and safely stored in a flat-file.