
Plugins are optional extensions to WordPress that can add new functionality to a site.
NUsites comes with a variety of curated plugins that have been thoroughly tested to ensure that they are compatible and reliable. While there are many other 3rd-party plugins on WordPress.org, NUsites only supports the plugins that are listed on the plugins list. The installation of additional plugins is not supported within NUsites.
Managing Plugins
You can manage plugins for you site by clicking the “Plugins” menu item from the left-hand dashboard menu.
Activate a Plugin
In order to start using a plugin on a site, it must first be activated by following the steps below:
- Click the “Plugins” menu item in the left-hand dashboard menu.

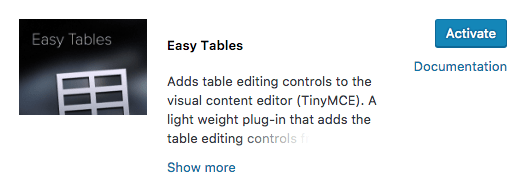
- Either scroll or search for the plugin you wish to activate.
- Click the “Activate” button for said plugin to activate the plugin.
Deactivate a Plugin
In order to stop using a plugin on a site, it must be deactivated by following the steps below:
- Click the “Plugins” menu item in the left-hand dashboard menu.
- Either scroll or search for the plugin you wish to deactivate.
- Click the “Deactivate” button for said plugin to activate the plugin.

Configuring a Plugin
Some plugins offer different options or settings that can be configured to alter how the plugin behaves in a site. These configuration options can be located in a variety of different places, and not all plugins offer customization.
After activating a plugin, it is recommended that you either review any available documentation for said plugin to determine how it can be customized.
If documentation is not available, try to look through the left-hand dashboard menus (Settings, Tools, or any others that may be relevant) to see if any new menu items are available for configuring said plugin.